WINTER GUIDE 18/19 - GEAR
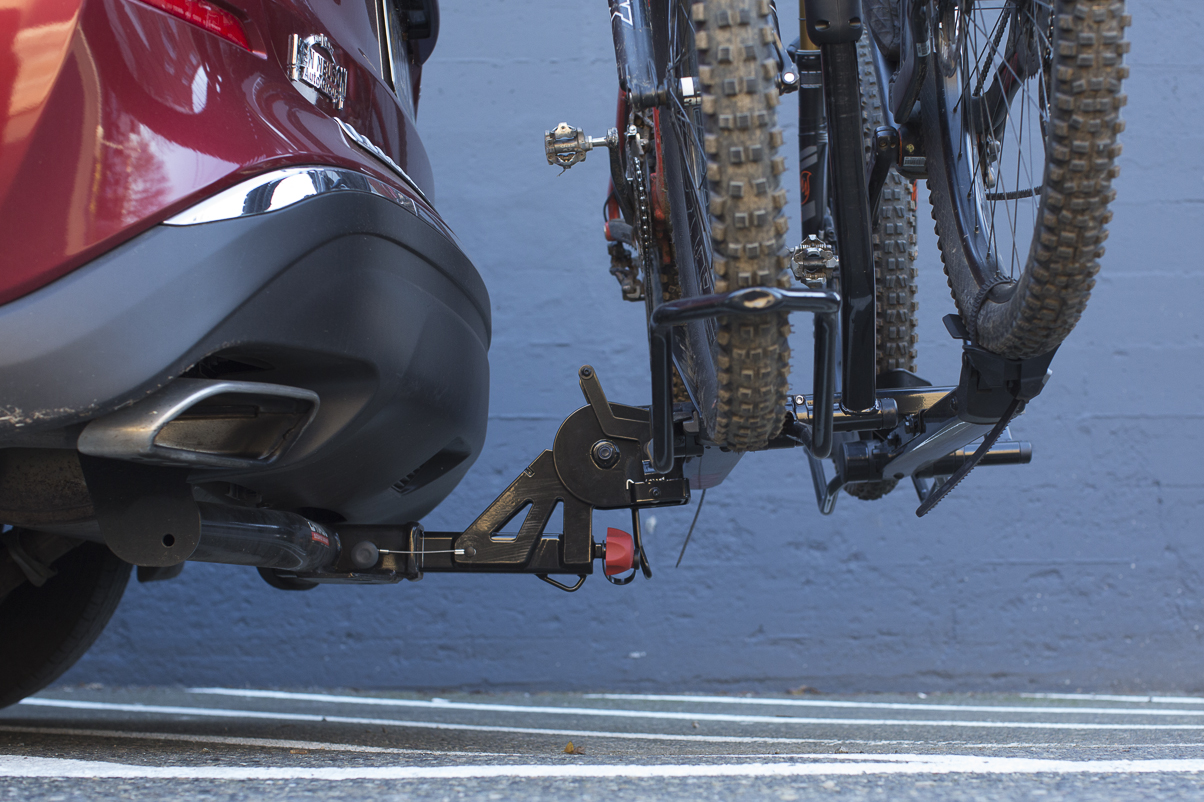
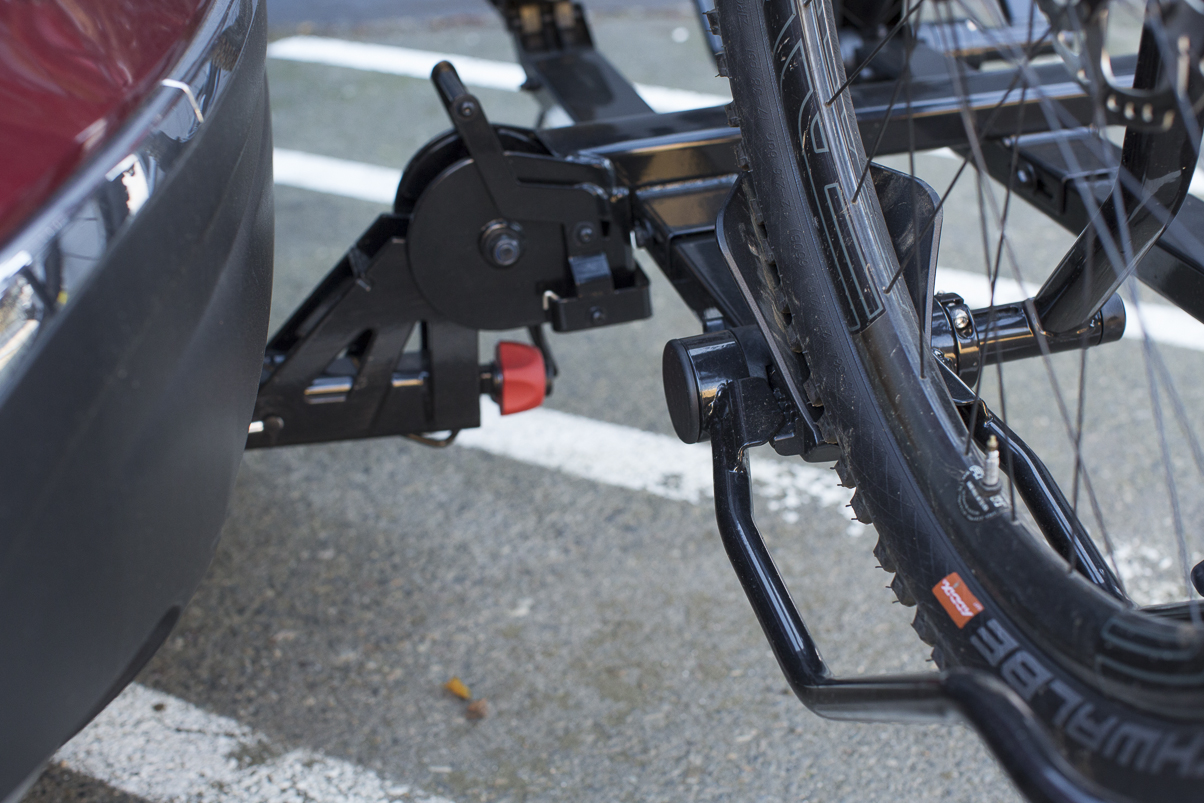
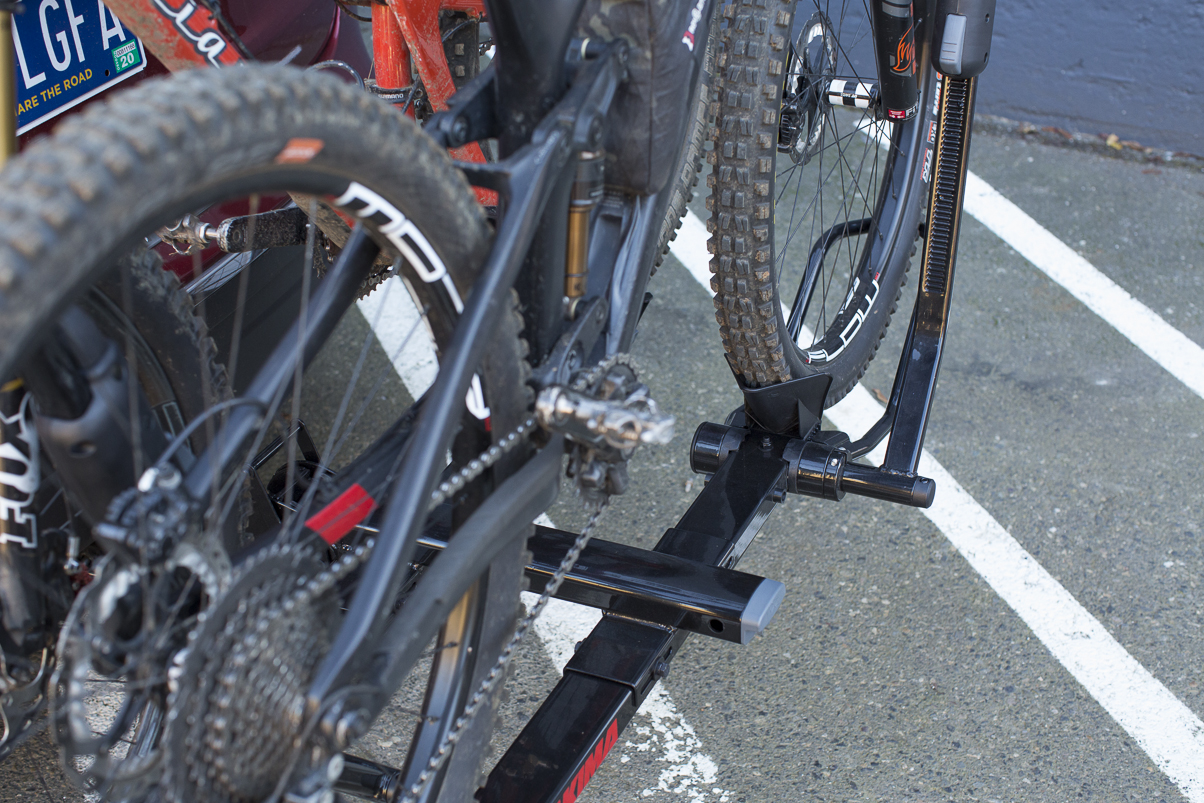
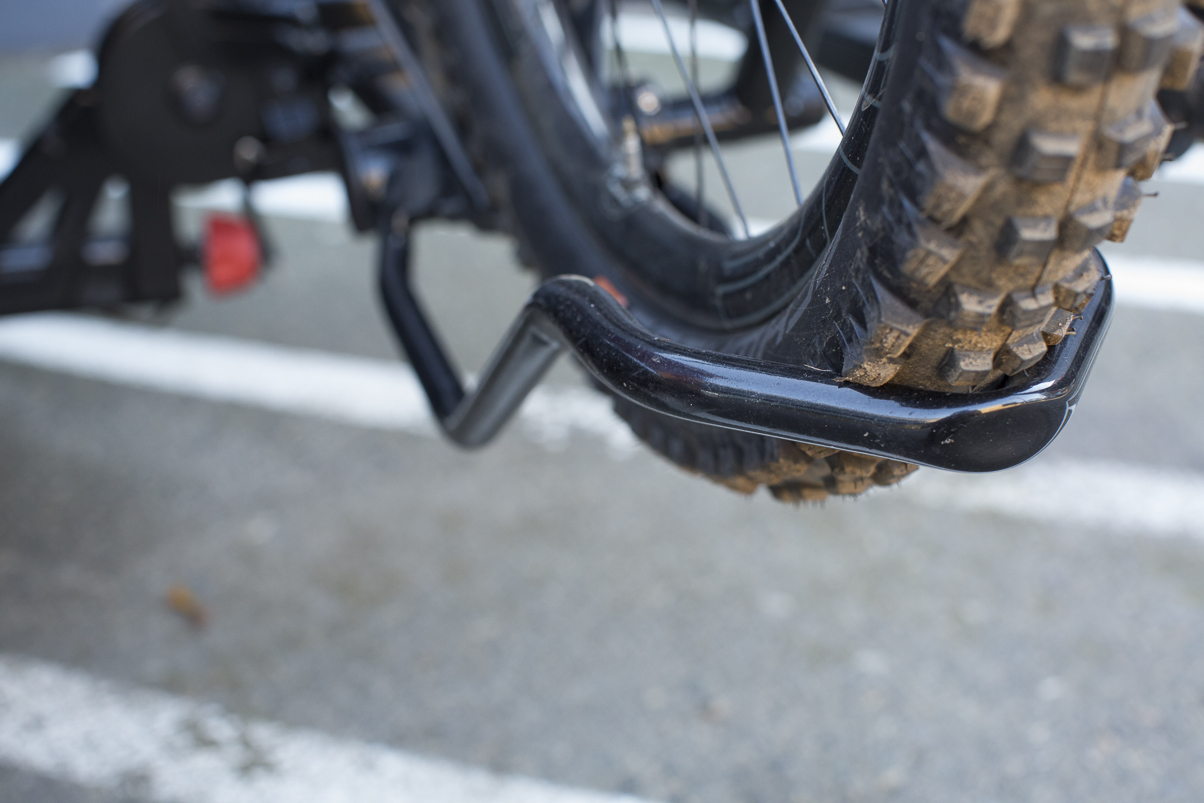
YAKIMA HOLDUP EVO RACK - $549
(Review by Tori Bortman) This rack is a literal game changer. Yakima has been known as one of the top companies for years, but unfortunately their more recent rack designs seem to have not taken into account average to small hands (nor their resulting shorter grip). The releases (both to swing the rack down and the thumb-breaking button on the front wheel hook) the were too large for smaller hands to grip or shorter arms to reach and would often stick after the first drive down a dusty road-- making you wonder if you’d even be able to get your bike off the rack to ride when you arrived. I often found myself wondering if they ever once had a woman field test their products. The Hold-up Evo (finally, gratefully, hallelujah!) is different. The easiest rack I’ve ever used, it starts folded up smaller than other racks as the front wheel trays-- which fit the largest of oversized tires as well as the smaller classics-- fold inward. The rack when stored stays well within the borders of your car and is no longer sticking out, making parallel parking and narrow spaces less stressful for driving. When you’re ready to load bikes, the “Kick-Start” foot pedal and “Easy Access” tilt system let you quickly and oh-so easily swing the rack up and down without straining your reach or your back. For security, the “StrongArm” front wheel hook is easy to use and the ratcheting interface is big enough to get your hands around and put your weight into for that extra notch of knowing your bike is firmly attached. When it’s time to release, the catch works without herculean effort. Within moments of experiencing this rack for the first time, I knew I’d never look back. Add in that the 2” hitch allows and extension that carries up to four bikes, and I’d recommend this rack to anyone who’s ever loathed their rear bike rack-- but makes me especially psyched to shred with my femme friends. Thanks, Yakima.
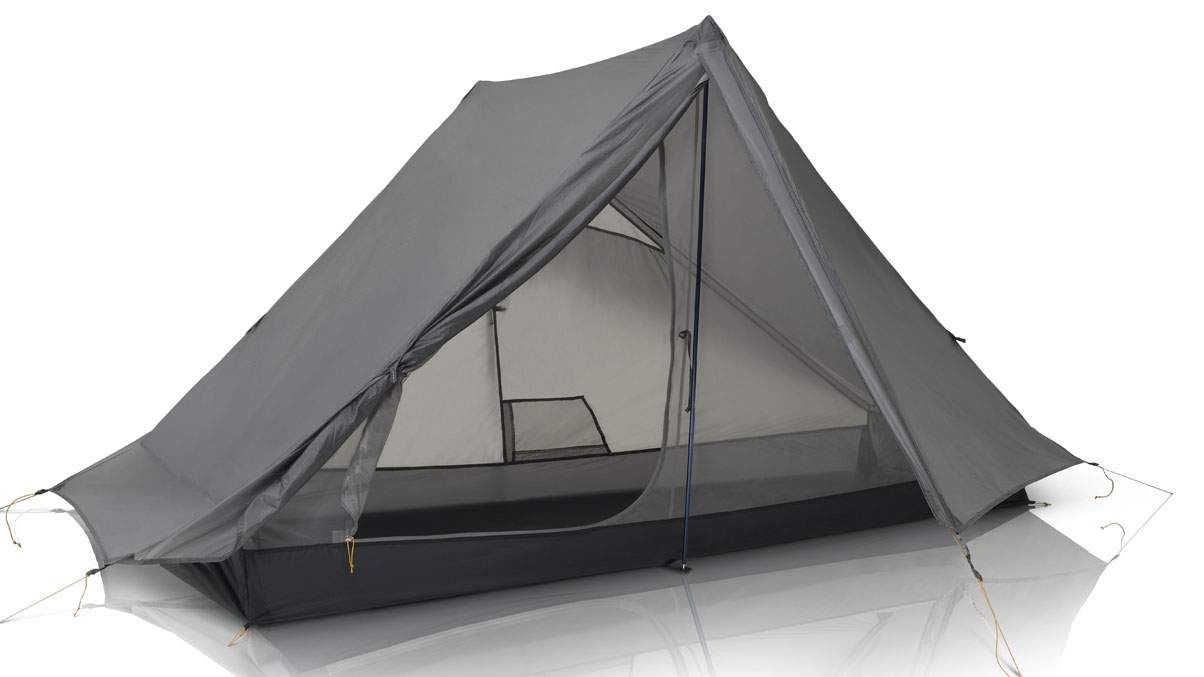
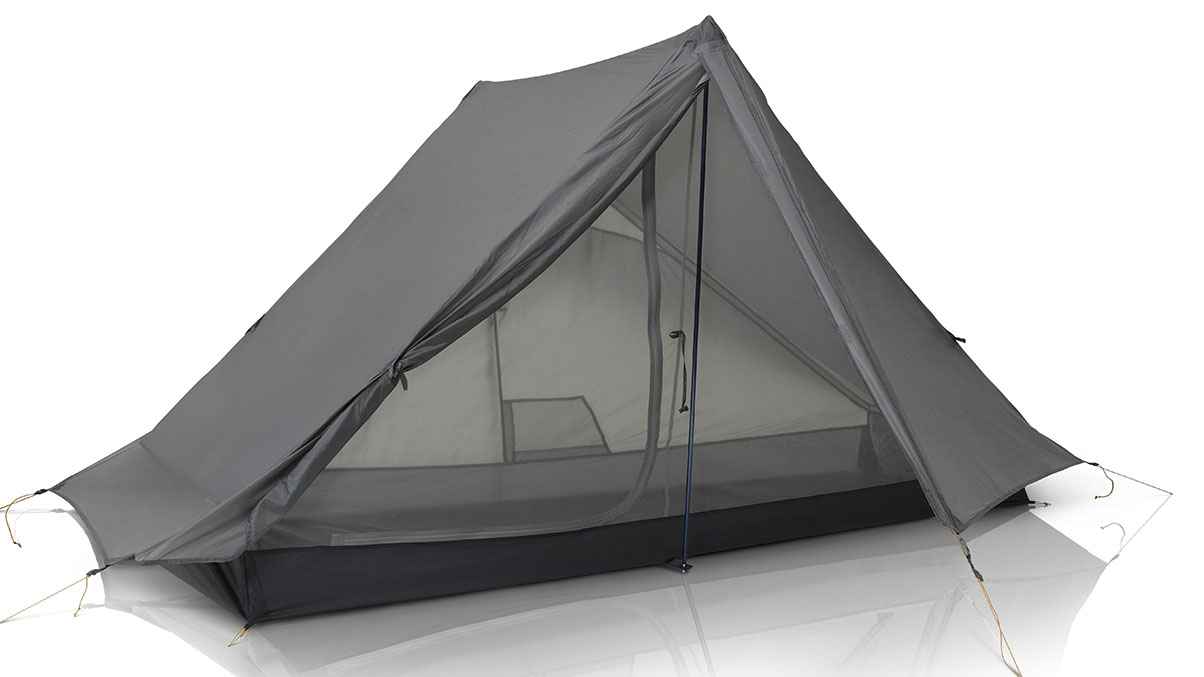
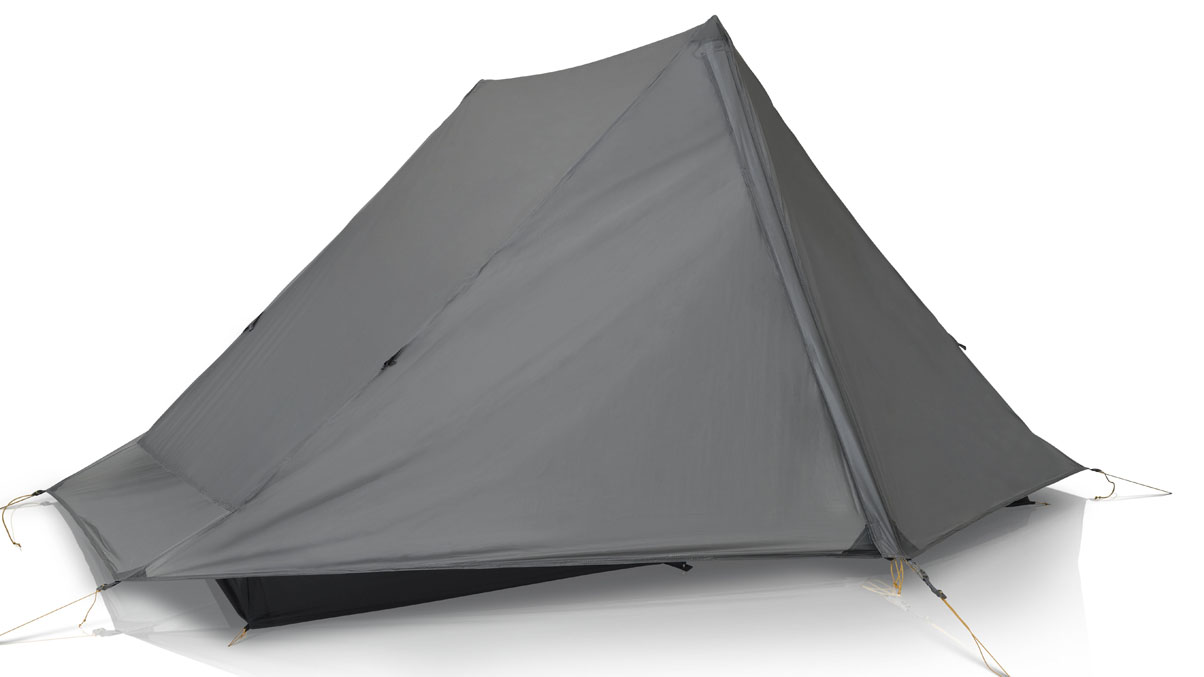

GOSSAMER GEAR - THE ONE - $299
I’ve tried a lot of shelters and I feel like Gossamer Gear’s “The One” might just be the one. It turns out I like the peace of mind of a tent, but I don’t really want to carry the weight of a full tent. I’m looking for a shelter to take with me on my next Oregon Timber trail outing. The biggest reason to take a minimalist tent like The One is protection from bugs and of course a “roof” over my head for when it rains. What we don’t like is minimalism at the cost of comfort. When I’m in my tent, I’m going to sit up, drink, look at maps…whatever. I don’t want to have to just be horizontal. The One obliges with plenty of head space. I also like a roomy vestibule to put my gear when I’m sleeping. If you’re a thru hiker, you’ll pitch it with your trekking poles and if you’re a bikepacker, you’ll likely take a pair of lightweight Gossamer Gear poles. If you were bound and determined to not bring poles, I’m sure you could cut some limbs to size, but that sounds like a lot of work to me. Condensation can be an issue with single wall tents, so Gossamer Gear made sure this tent will breathe. There is plenty of mesh and we appreciate being able to exit on either side of the tent. Having a packed size of 6 x 9 inches is another bonus and will be a breeze to pack in my front roll. Double bonus is that the whole kit (including poles) comes in under 2lbs.
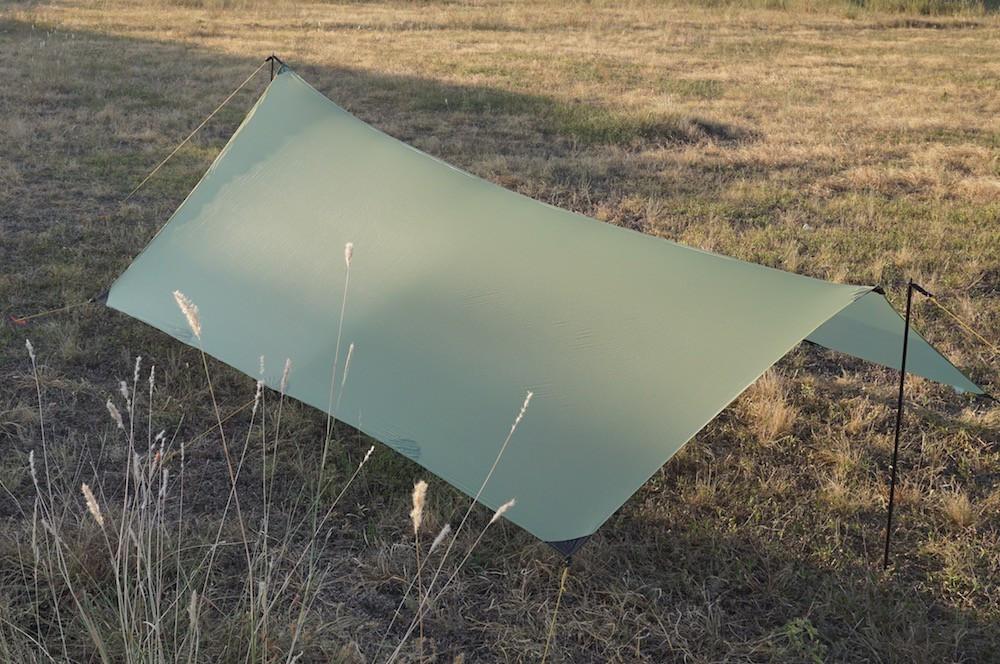
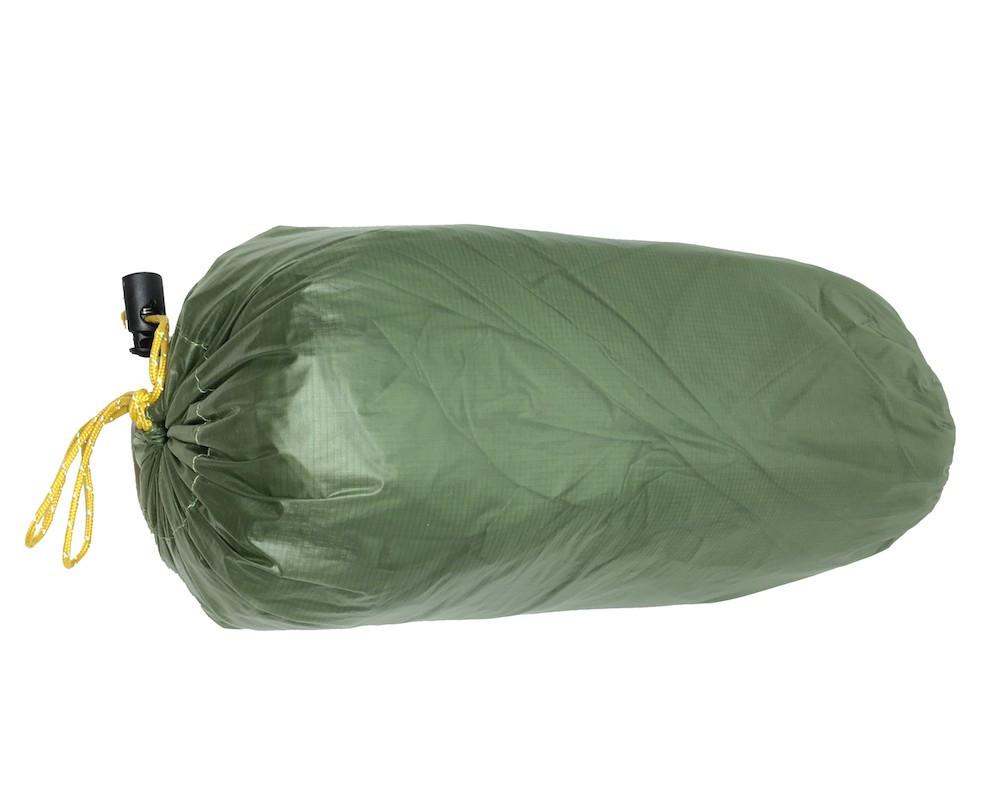
GOSSAMER GEAR - TWINN TARP - $155
For trips when I want to pack ultralight and maybe weather is less of an issue, I’ll be packing the Twinn Tarp. There are three big reasons to grab Gossamer Gear’s Twinn Tarp. Reason #1 is that it weighs only 9.5 ounces with all the guy lines and the stuff sack. Reason #2 is that it packs down to 3.5 x 8.5 inches. That’s both small and light. Reason #3 would be having a small footprint and being able to set up in small spaces. If it’s going to be mosquito season, I’ll pack a mosquito net like MLD’s bug bivy and if there is some threatening weather, I’ll pack a bivvy, like my Montbell. I don’t have much experience with tarps, but I love the challenge of making it work. Cowboy camping looks lovely until it rains. I can see throwing caution to the wind on a 2-day desert trip, but if you’re out for a week in the PNW - even in the summer - aren’t the odds pretty good you’ll get a day or two of rain? Could you spend more money for some cuben tarp? Sure you could, but we feel like we’re in good hands with Gossamer Gear. They won’t even make something so unnecessary. They’ll say “this is what we feel is best and affordable, so that’s what we’re going to make.” Spend your extra time and money having more experiences on trail! Take only what you need.

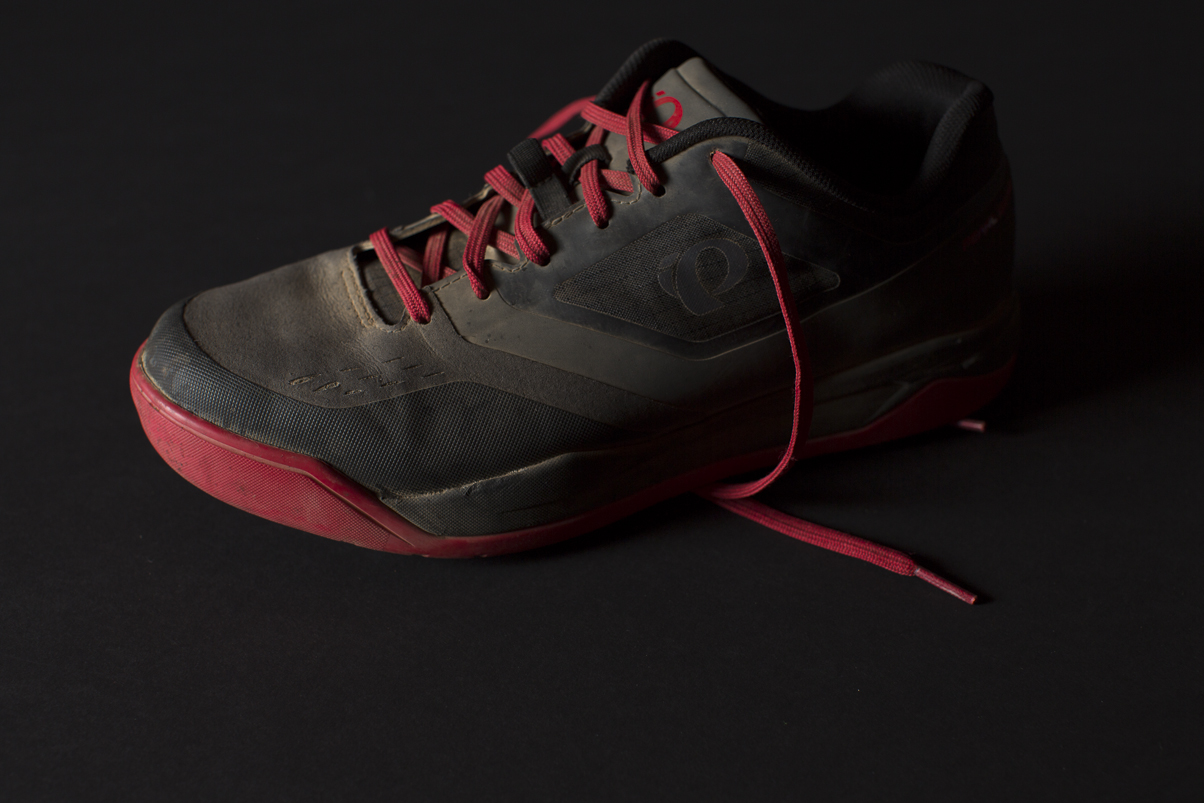
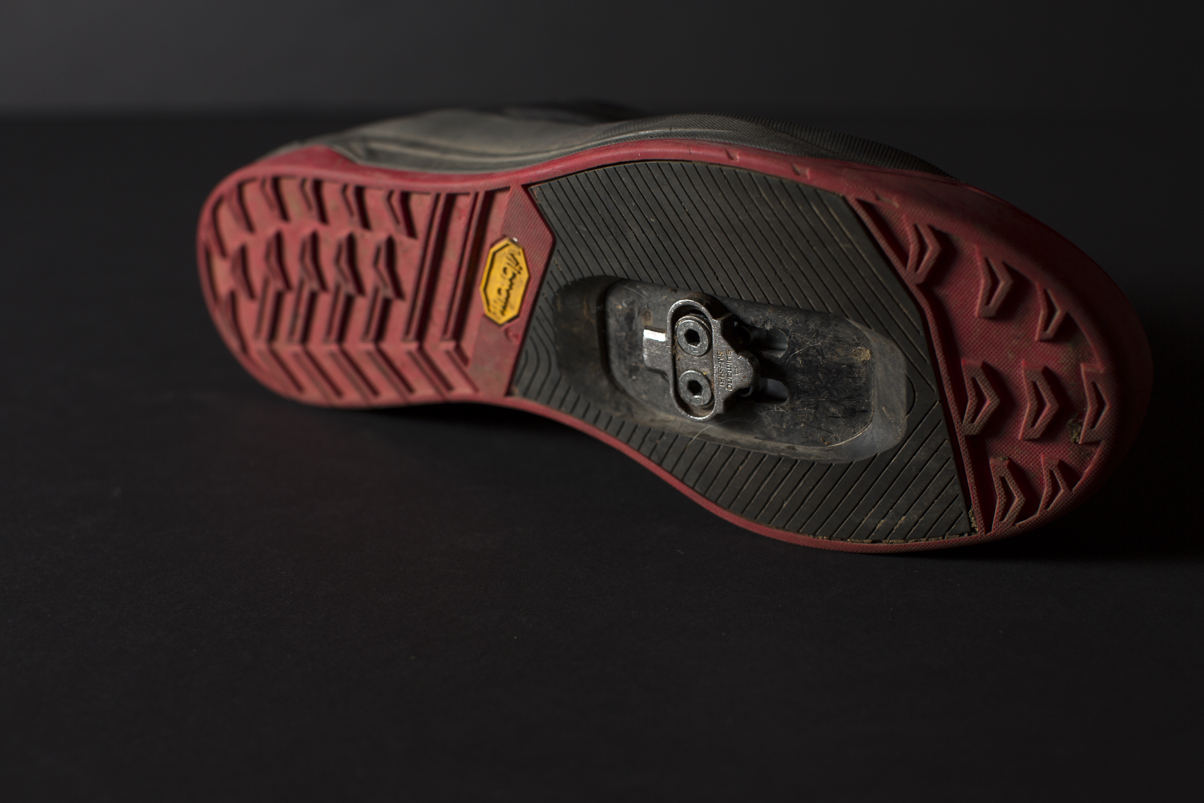
SHIMANO ME-7 SHOE - $150
The newest version of the ME-7 made some nice improvements, that in my opinion, have made a very good shoe even better. The biggest improvement that has me excited is the addition of half sizes. I’m a 43.5 in Shimano shoes and was forced to size up to a 44 and the fit wasn’t great even with thick socks. So, having this years model fit the way it should is a huge improvement for me. Next, they did away with the mesh toe box, which if your feet were constantly overheating, maybe you’re sad to see it go. For me, it’s going to keep out more trail dust and grime, so I see it as a positive. They also sealed the cleat area to keep water out. Finally, Shimano kept the parts that I liked: The durable, walkable Michelin rubber sole; and the lacing system. The lacing system is two part - the lower part is speed laces, which get covered up with a flap. The upper is the tried and trusted ratchet system. I personally have always like the ratchet system, since it’s low profile and it’s easy to use. Finally, Shimano kept the neoprene sock around the heel and improved the rubber bumper around the toe area. They rate this shoe an 8 on their stiffness scale (Their XC9 is rated at 11) For me, this is the careful and incremental approach that I love about Shimano. Keep what works and fine tune the rest.
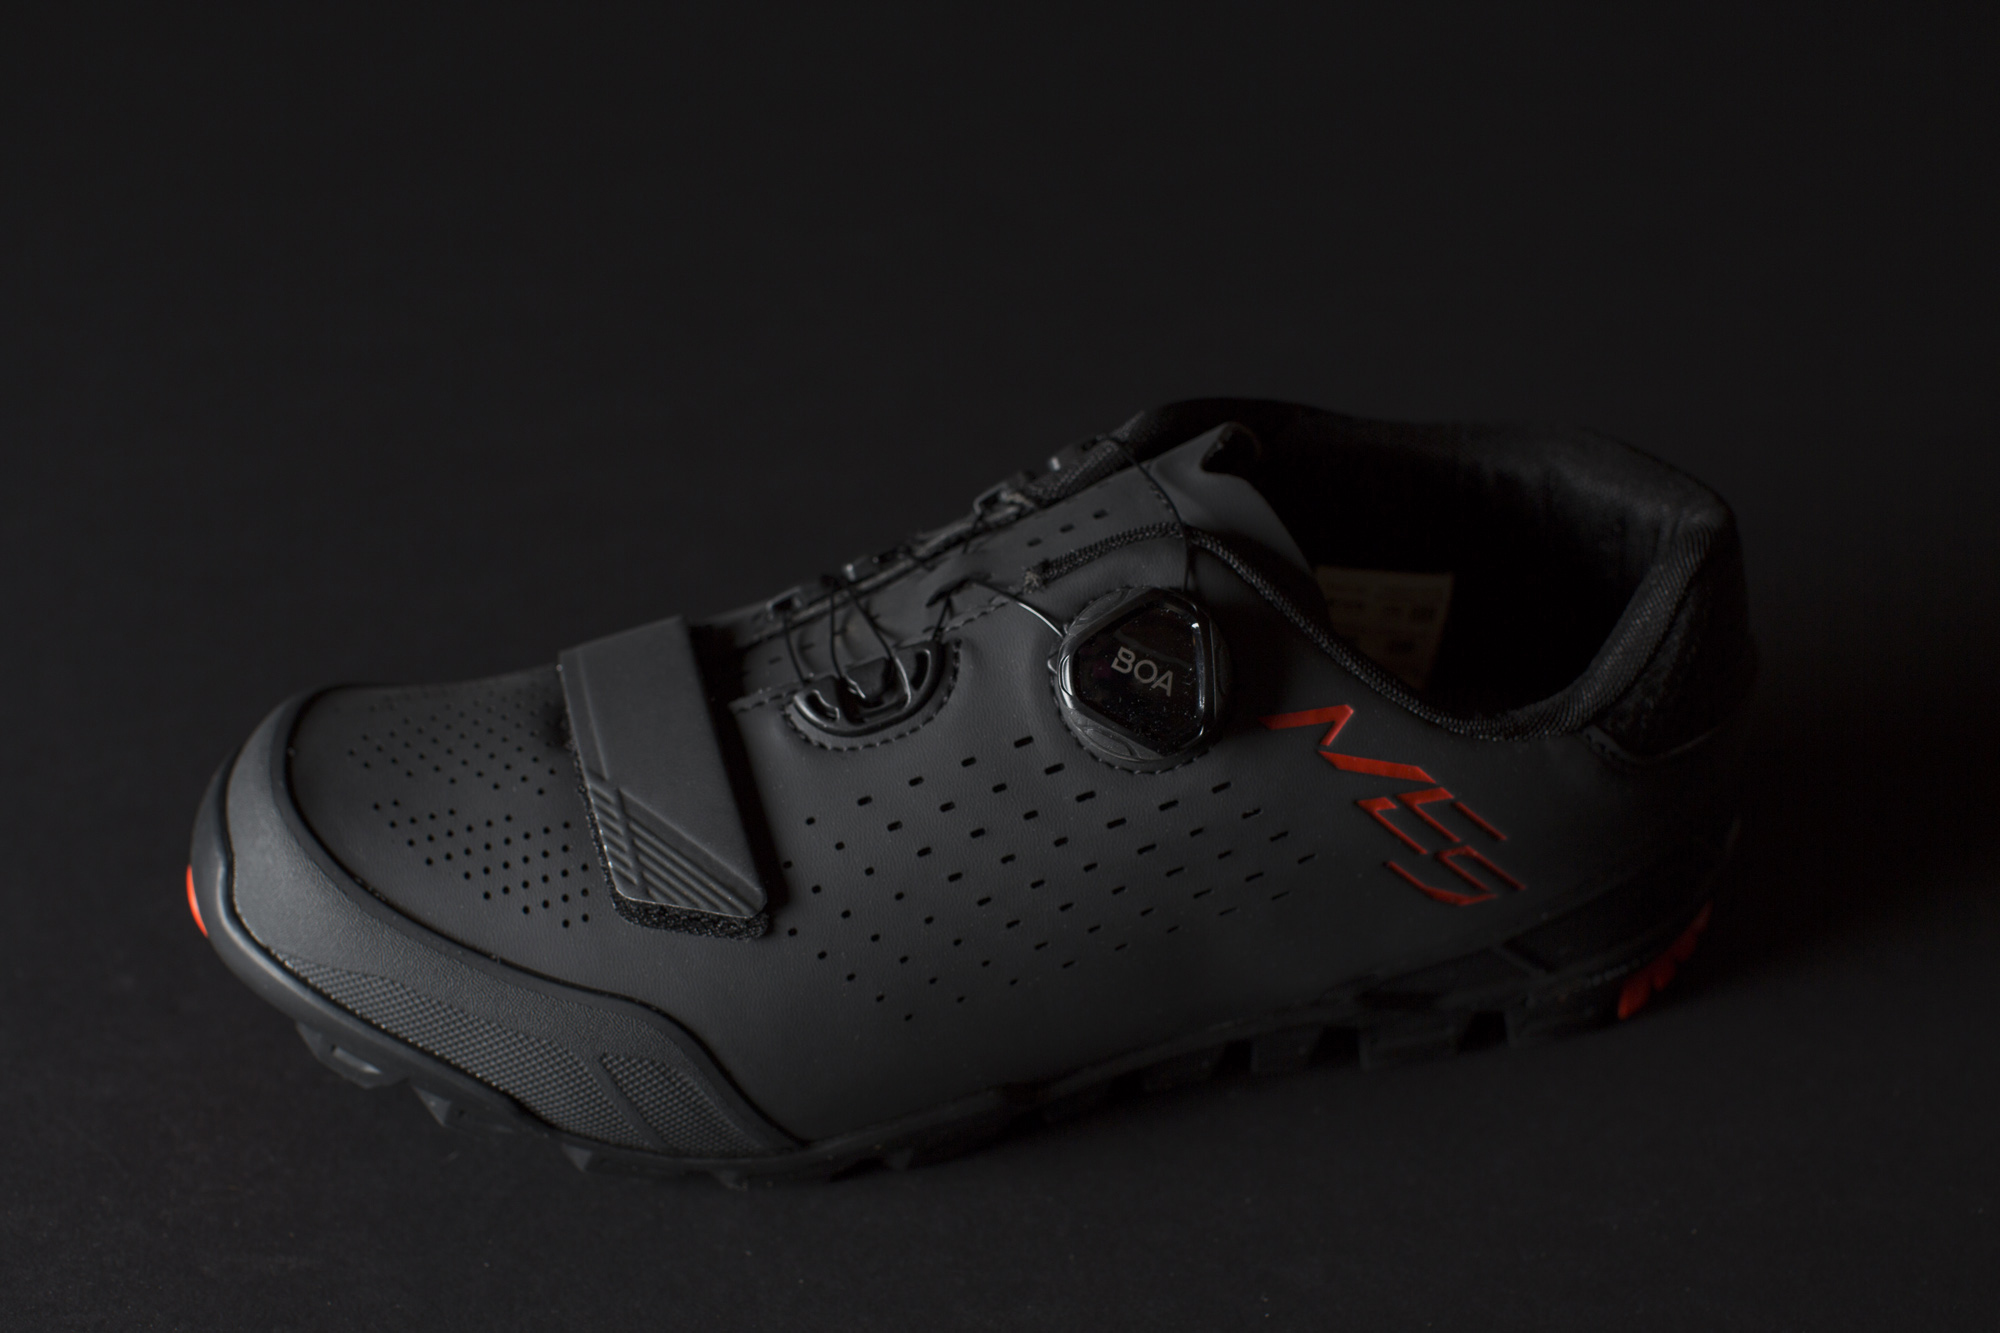

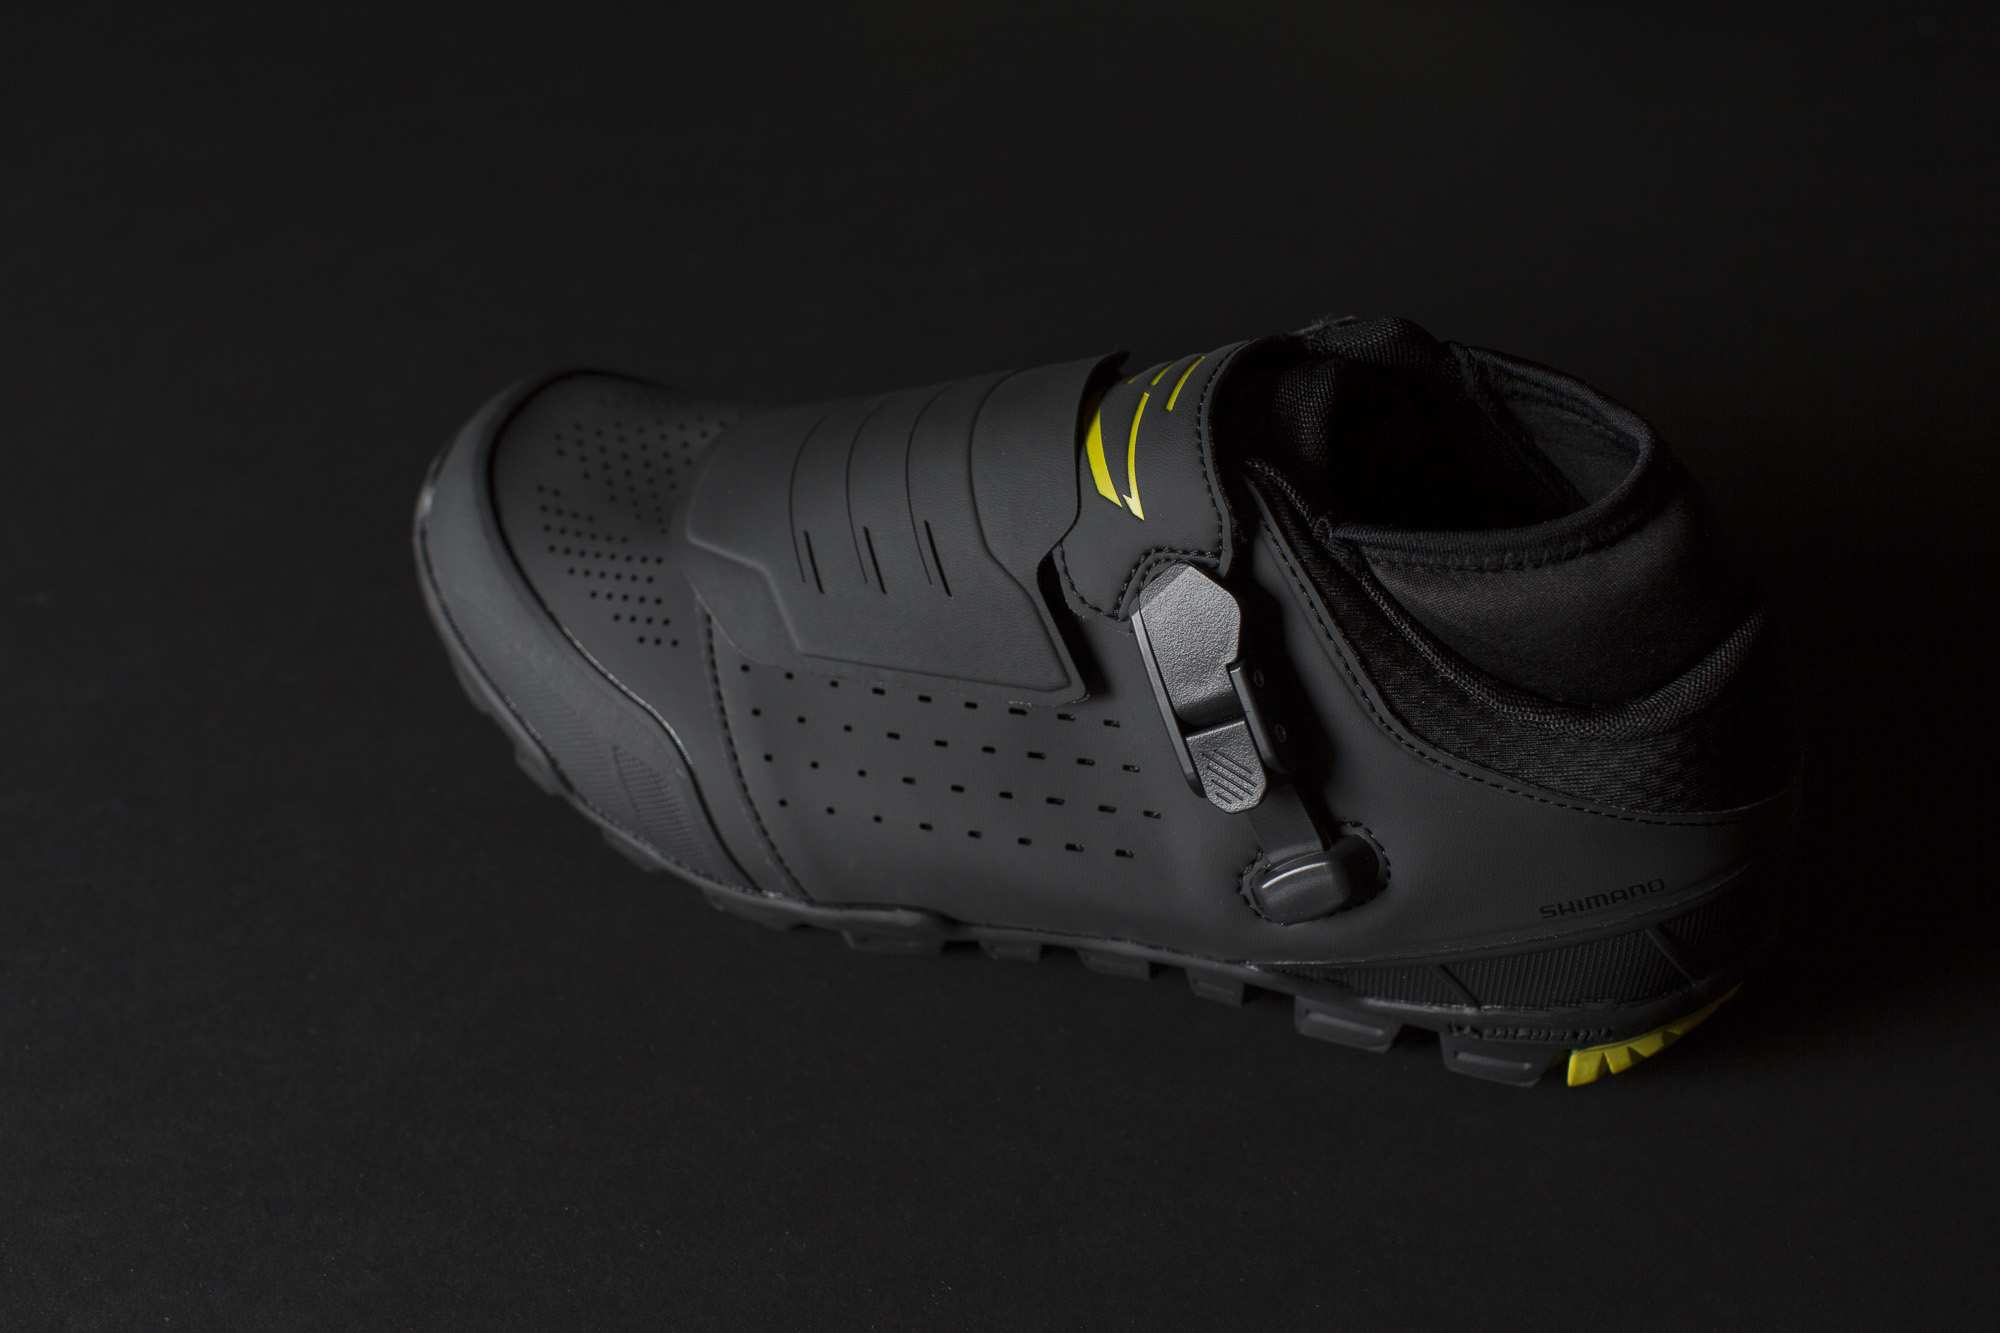
SHIMANO ME-5 SHOE - $160
The ME5 shoe is new to me. I know they had a 3 velcro strap shoe last year, but this year’s model seems to have more in common with the ME7. The biggest difference on this shoe is the BOA dial and the single velcro strap, instead of the ratchet/speed lace system on the ME7. The two shoes share the same walkable Michelin rubber sole and toe bumper, and the ME5 seems to be cut a bit lower, where the ME7 is aimed at an enduro rider and has more built in protection. I also noted the stifness of the ME7 rated at 8, while the ME5 is rated at 6, so the ME5 might be a nice choice for bikepackers and could be a comfortable shoe for hike-a-bikes. Unfortunately, the ME5 is only offered in whole sizes, so I need to try and fill up some extra interior space with orthotics, which give me a bit more arch support and thicker socks. I worry about the BOA dial on the outside of a mountain bike shoe, but time will tell on that. Overall, we’re happy to see more Shimano offerings with a flexible/rugged/walkable sole, and some experimentation with new lacing systems.

SHIMANO PD-M9120 XTR PEDAL - $180
To me, this is where Shimano gets interesting - making hardware that integrates well with its footwear. Or is it the other way around? Either way, I’m happy to see pedals that are making the most of their shoes’ walkable soles and providing some more foot platform. In Shimano’s words: “Wider and longer contact area provides more solid pedal – shoe interface and transmits power efficiently for better bike control. Integrated cage not only protects the binding from impacts but also makes stepping-in easier working as a guide” I’ve ridden the standard XTR pedals since they came on the market, so as I get into riding some more technical and demanding trails, I seem to want any help I can get in terms of foot/ankle protection and a bit more platform from which to maneuver on the bike. These weigh a full 3 oz. more than the standard 9100 XTR pedals, but sometimes a bit more protection and control are worth a little extra weight if they offer improved performance. At least that’s my thinking these days when it comes to trail riding and bikepacking. If I’m more comfortable and more in-control on the bike, I’ll take a small weight penalty. I’m anxious to see how these ride and we’ll report back in the Spring.

NORTHWAVE GHOST XC SHOE - $220
I’m a fan of flashy Italian cycling shoes and the Ghost XC completely fit the bill. They’re light, they’re stiff and their flourescent yellow! Is there really room in the market these days for XC shoes? I say yes, especially for gravel rides where time off the bike is kept to a minimum and you’re after the best possible power transfer. These would be perfect shoes to race cyclocross as well. Shoe fit is an entirely personal thing and varies from brand to brand, so luckily my feet like Northwave shoes. I have slightly wide foot and I appreciate the Northwave last. So, try them before you buy. I find Northwave to be similar to Shimano and Pearl Izumi in foot shape. The only real complaint is their dial ratchet system. I don’t think it offers superior fit or the ability to cinch the shoe up tighter than any other shoe, and we’ve been force to embrace the BOA system, so now we have the Northwave ratchet dial that allows you to micro click more room for mid-ride adjustment, or open it entirely for a slow exit. Don’t get me wrong - the complex wire system works, it just seems more complex than it needs to be. Even with the shoe cranked, I still have some room in the shoe over my arch. I’ll be happy to see this shoe evolve.
PEARL IZUMI X-ALP LAUNCH SHOE - $160
So this is a thing now - cycling shoes that look like skate shoes. We all want that casual look. Sorry to be cynical. I was a skater in the 80’s; that’s how we are. We were there 30 years ago before it was cool. Anyway, walkability is what I’m after. I feel like I’m not nearly as nimble as I’d like to be off the bike, so I need all the help I can get. SPD compounds that problem, when you’re pivoting cleats on rocks. This is one place where the X-Alp Launch excels. It feels very stable walking on rocks. I like that. I’d be worried in slippery mud, but it loves dry and rocky. I think the soles will be extremely stable with the wider platform trail pedals as well. Next - the stiffness of the shoe is quite good. I know you think soft and squishy for skate shoes, but that’s where the similarity stops. The stiffness of the materials is a bit frustrating with the laces, trying to get a snug fit. The foot shape is good. I don’t have a lot of play inside. It feels secure, but I can’t really dial in the fit, as I thought I would be able to with laces. Between velcro straps, BOA dials and laces, I feel like mountain bike shoes are in flux and can’t decide how to snug up properly. All things considered, I liked these shoes more than I thought I would and came to love them for flow trail riding, where speed and stability are the goals.

OAKLEY RADAR EV NIGHT CAMO WITH TRAIL LENSES - $193
Oakley has been a great supporter of Trans Cascadia this year. If you haven’t heard the ruckus in the woods, that’s just us digging out old forgotten trails and howling by the campfire. Seriously though, there are some perks to having Oakley come out, because they make sure the volunteers have eye protection, and some of it may even be the new trail lenses that haven’t hit the market yet. Let’s start with the lenses. I feel like I’ve been waiting for this updated version of the trail lens for a bit now…not saying Oakley is slow, I’m just impatient like that. But my complaint with the previous gen was that they were too dark for riding in the woods. The new version is much improved in low light and even works for those sunny winter days, where there is some glare to contend with, but it’s not bright like summer. So…let’s call it medium light. OK, the frames - the Radar frames have long be a pro athlete favorite. If you like frames that do their job without calling much attention to themselves, and most importantly they stay put on your head, it’s hard to do much better than the Radar. My other pet peeve with glasses is obtrusive frames that you can see in your peripheral vision. Again, the Radar frame disappears and leaves your view unobstructed. My only complaint with the Radar is the length of the arms that don’t play as well with mountain bike helmets. I can still use them, but I have to carefully tuck the arms under my helmet straps. That’s not a dealbreaker. I got spoiled with the adjustable arms of the Jawbreaker. The matte night camo frames are subtle and kinda hot, I think. I can’t tell you if the lenses are easy to swap on these frames, since I only have these trail lenses. Sorry, I know shit review.

OAKLEY FIELD JACKET WITH CLEAR PHOTOCHROMIC LENSES - $243
Oakley is known for innovation. They keep trying new stuff out, as you do when you’re a leader in your field. The Field Jacket (shown here) and the Flight Jacket (the frame that grips the lens from the bottom) both have what Oakley calls “Advancer Technology” which just means that they have hinged the frame at the nose bridge to allow airflow between the glasses and your face to eliminate fogging. In the past, you would just stow your glasses on your helmet for a bit, or slide them down your nose, and put them back on. With both the Field and the Flight Jacket you flip the switch and leave them on. Does it work? Yes it does. I don’t love the feel of the extra airflow. I find it distracting, but it does clear up fogging quickly. Maybe it takes practice to flip the switch, but I find it hard to do with gloves on, so I end up pulling them off to find the switch, flip it, and put them back on. Both models allow you to switch to shorter earpieces if they’re interfering with your helmet. They just snap on and off with a click. I’ve already raved about the clear photochromic lenses for winter riding. For the PNW, there is nothing better. The aesthetics on the frame remind me of safety glasses for basketball. So, if you’re a fogger and and you’re in the market for some new eye protectors, give the Field Jacket or the Flight Jacket a try.

GIRO AETHER HELMET - $325
Giro have gone and completely re-imagined how their MIPS technology works. In the synthe, it was thin plastic sheets that slid - the best analogy I can give would be like the way fascia slides over muscles. I can’t exactly explain how the new MIPS works in the Aether, but to borrow Giro’s words “Our proprietary MIPS Spherical technology is integrated between the layers of EPS foam – instead of against the rider’s head – giving riders the benefits of MIPS without obstruction to comfort or cooling power.” The helmet actually has two separate parts that move like a ball and socket joint, so you can imagine the sliding motion that would happen on impact, thus preventing shearing forces from acting on your neck and brain. The comfort and aesthetics are greatly improved on the Aether as well. I like how the rear of the helmet has gotten smoothed out, and less like to catch on a hood or anything else that might come in contact. It also feels very aero on your head. I mean how do you quantify air drag. I’m sure there are numbers out there, let’s just say I want this helmet on my head on any windy day in the gorge. The rubber bumpers designed to hold your sunglasses in place when you stow them in your vents is a nice touch as well. Giro has sweated the details on this helmet. I don’t know why you wouldn’t invest in the latest technology to protect your head. You’re worth it.

100% - SPEEDCRAFT
100% was founded in 2012, so they’re fairly new in the scheme of things, but they’re making themselves known. They have a strong aesthetic that is rooted in motocross and DH racing. Apparently Peter Sagan thought they’re worth tracking down, since word has it that he cold called them and said “HEY I want to work with you guys”. 100 percent was like: “Who is Peter Sagan?” And then someone in the background at 100% was like: “”Shhhh! Sign him up! The Speedcraft though, is pure Mathieu van der Poel. I recently saw this exact pair on his head during the interview portion of a recent cross race. Interestingly he chose a different pair to race in. The mirror red lenses are designed for bright light or exposed mountain areas. They are also water shedding, oil resistant, and anti-reflective. Glasses are designed in Cali, and made in Italy. The glasses fit and ride well. We love that every pair comes with a clear lens and a sturdy carrying case. If you need some bling shades in your life…it’s hard to beat the Speedcrafts.

100% - S2
Baller. That’s the word that comes to mind for me on these. The 100% S2 are the glasses that Sagan wore to victory at Paris Roubaix this year. 100% has a tagline that goes like this: “How much effort do you give?” I’m pretty sure Sagan gave it his all to win that one. There’s no half-stepping in Paris-Roubaix. You go hard or you start bouncing around on the cobbles and quickly get dropped. How do you ever separate a product from an endorsement like that? It wasn’t as if he chucked them as he entered the Forest of Arenberg because they were too dark or bugging him to wear them. He kept them on until he won the sprint in the velodrome. As you do. I love the way the chrome lenses match the clear frame, for a unified aesthetic. The cylindrical lens on the S2 provide great peripheral coverage. I think the clear frame lets a bit of light in, but I think that’s probably something that you would get accustomed to. I also appreciate the deluxe carry case and addition of a clear lens to change out for winter riding. They also include an alternate nose piece for a different fit. Small touches, but like they say: How much effort do you give?
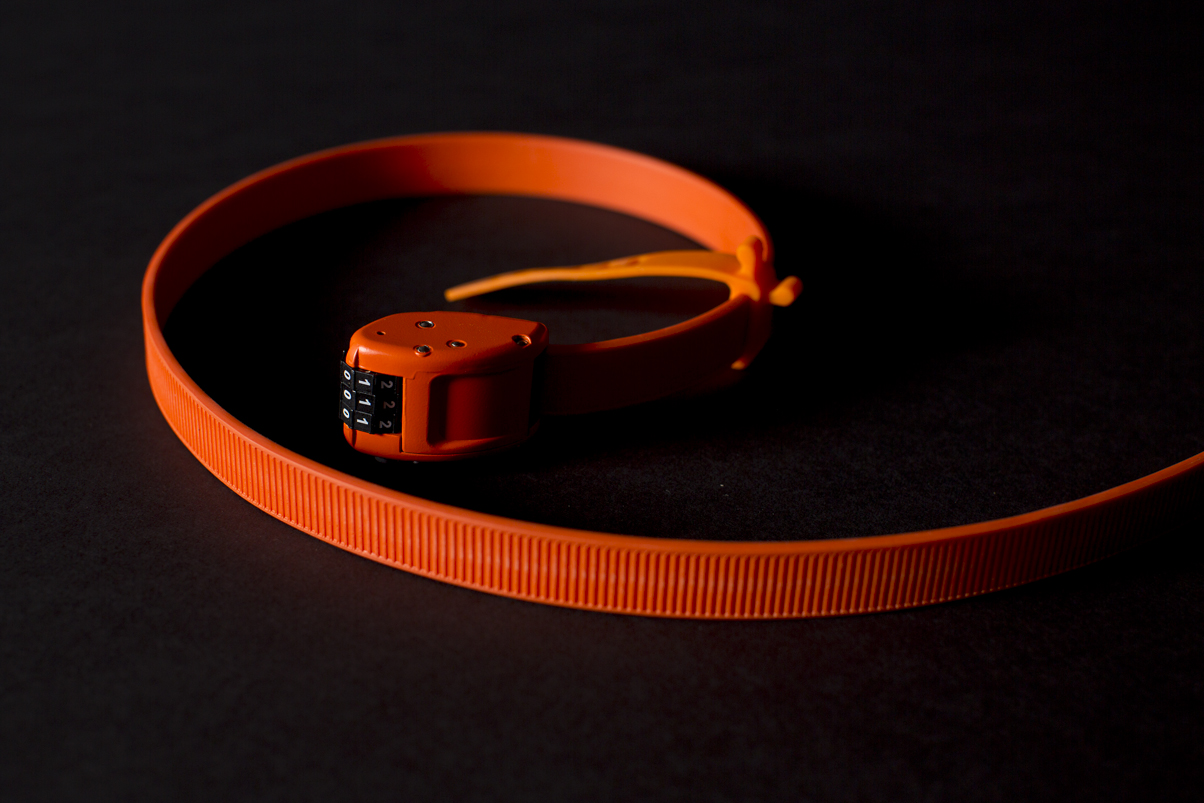
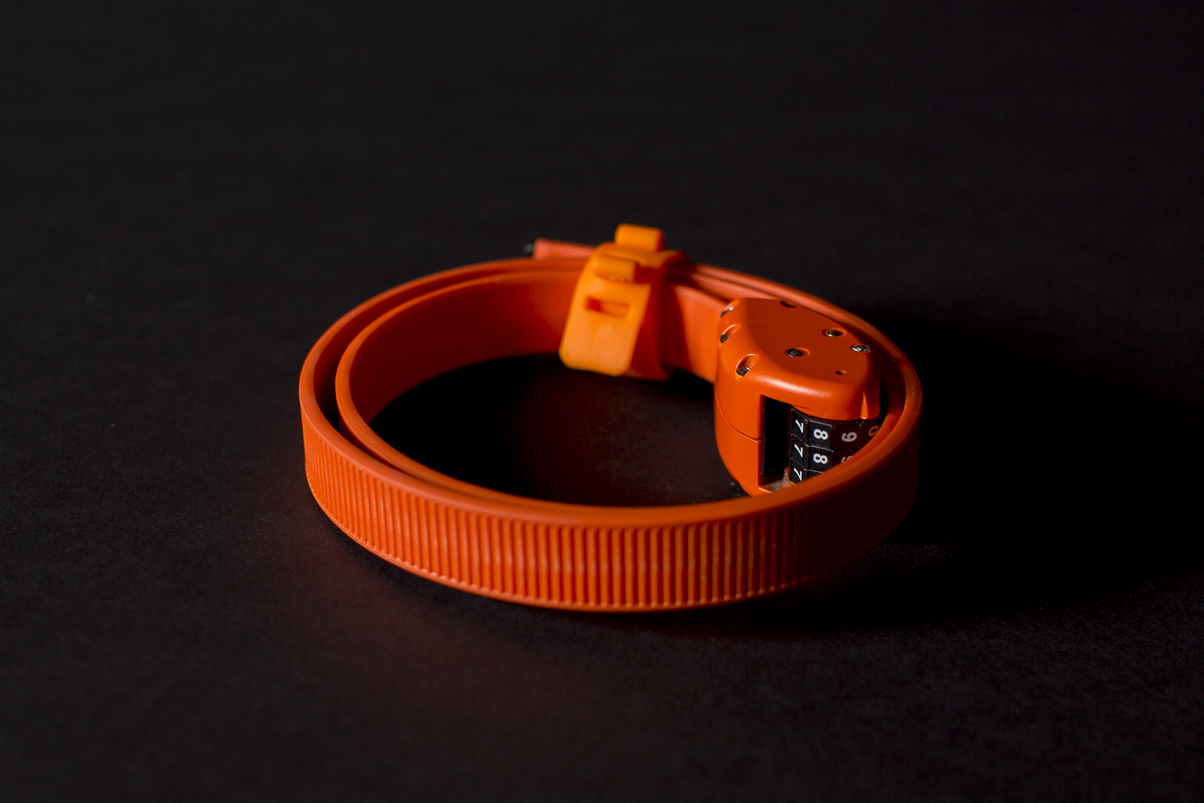
30” OTTOLOCK - $65
Rumor has it that the Ottolock was developed by pro roadies that wanted a compact lock they could bring on training rides. You know coffee/pastry stops are de rigueur for the pro roadie, right? How many times have you been out on a ride and you want to run into a café or a store, but you skip it because you don’t want to leave your fancy bike outside. Thanks to a layer of Kevlar, it’s cut-proof enough to thwart thieves allows you to run your errands in peace. We’re not naive enough to think that the Ottolock would keep our bike safe anywhere overnight, but it prevents the quick-grab theft. Think about how handy this is for world travelers and bikepackers. You certainly don’t want to lug your U-lock with you around the globe. This brings us to the lightweight and portability of the Ottolock. The 30” weighs in at just 152 grams (5.4 oz) and when rolled, fits easily in a jersey pocket or toss it in your frame bag. Comes with a nice rubber mount that lets you attach it to your seatpost. Essential piece of equipment!
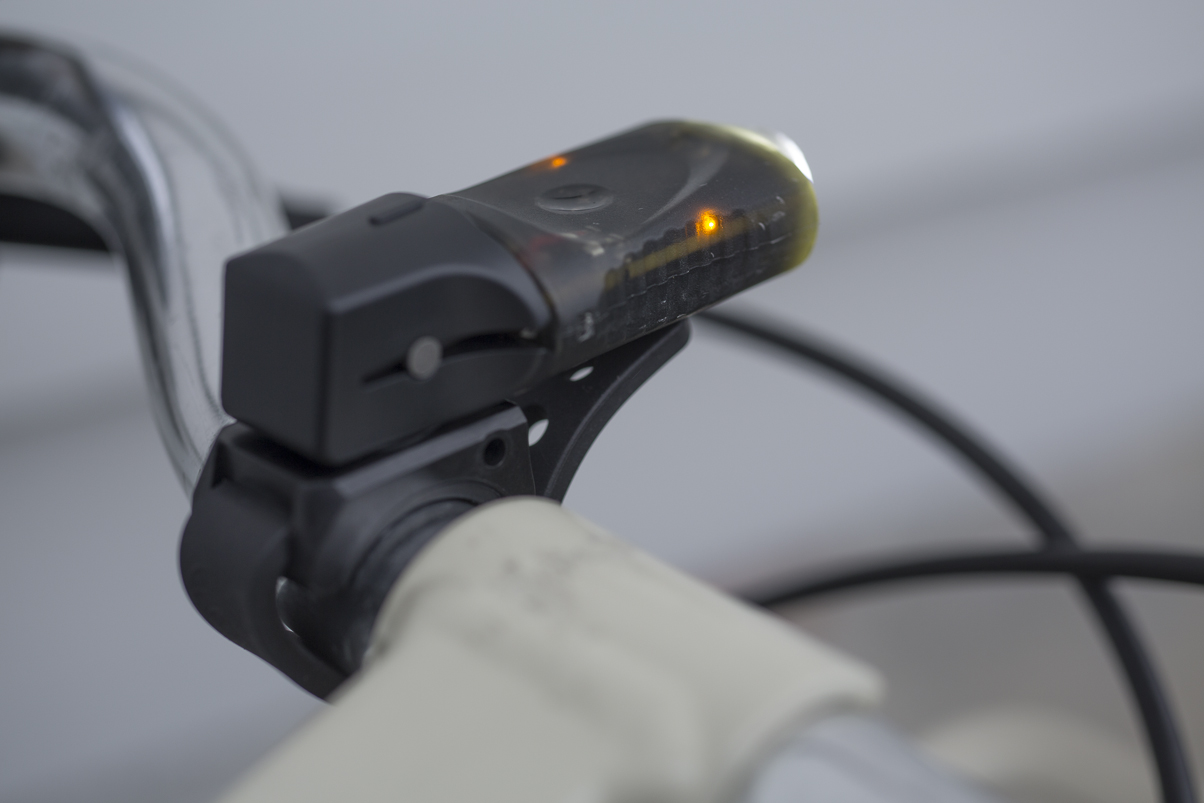
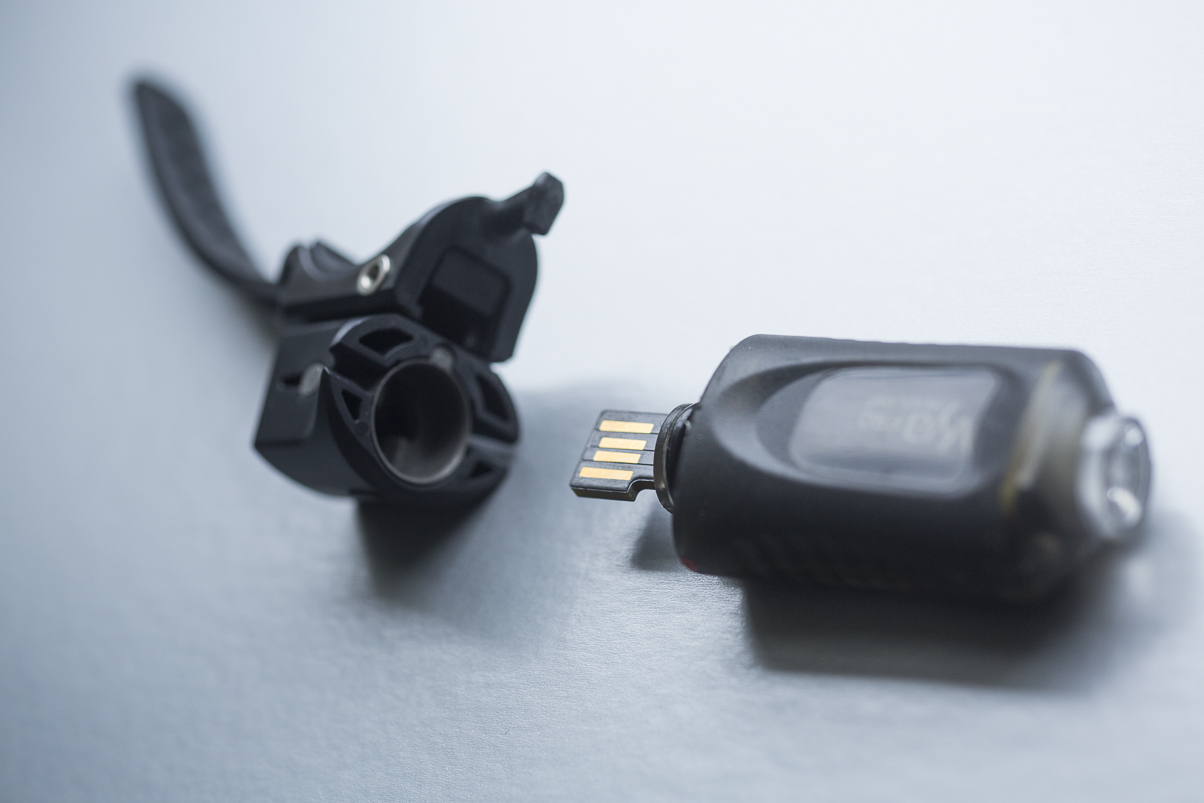
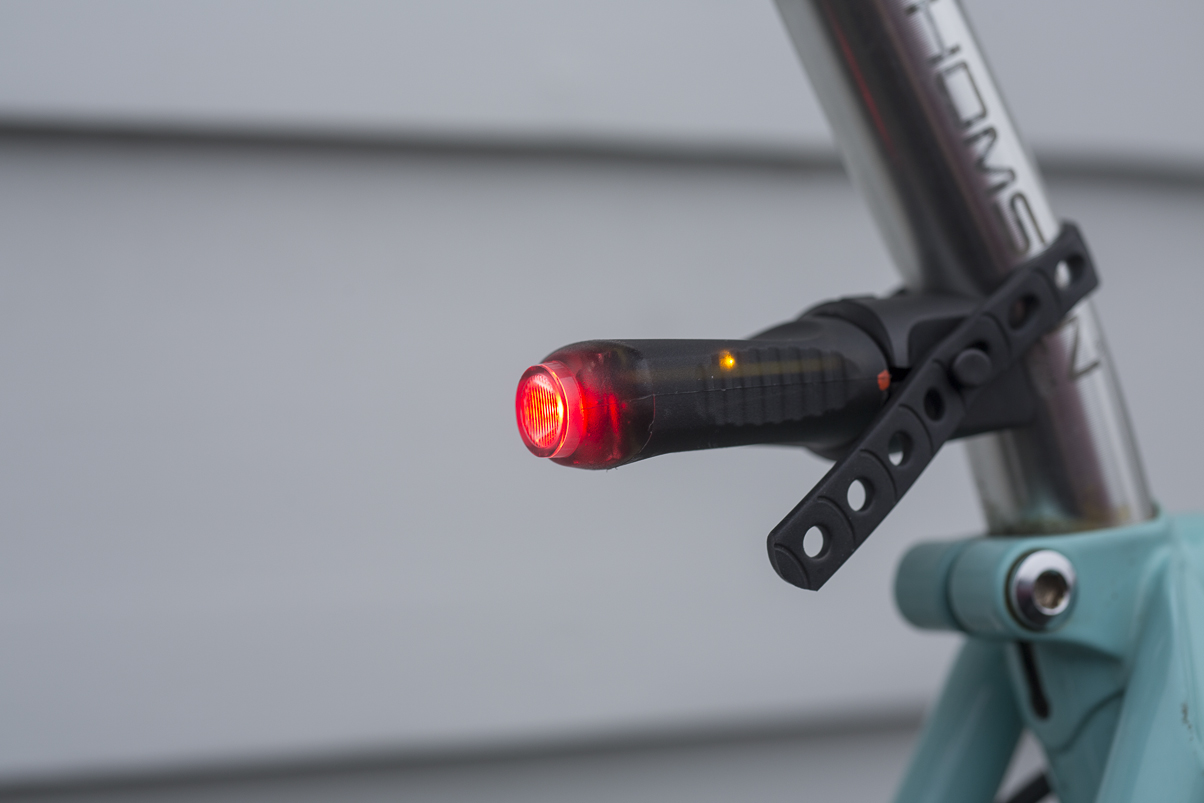
LIGHT & MOTION VYA PRO COMMUTER COMBO - $100
I’m not afraid to admit it - I’m a commuter. I work at home, but I do as many errands as possible by bike and ride to the gym a couple times a week. I also do what I call “maintenance rides” where I get out on my road bike for a quick midday tuneup ride. Having a good set of lights to keep you visible even in daylight situations has become essential, especially during the darker winter days. It’s up to us to be as visible as possible. A set of lights like the Light & Motion Vya pro commuter combo make it easy to install and keep them running day after day. What we love most about this set is that they’re USB chargeable and they activate without a single button. They know whether it’s day or night and blink or shine steadily accordingly (blinky by day, steady by night) I really love this set as daytime running lights. The front light is limited to a maximum 200 lumens, which is just enough to see by. Both install easily and you can cut the straps shorter if you know you don’t need all that strap length.
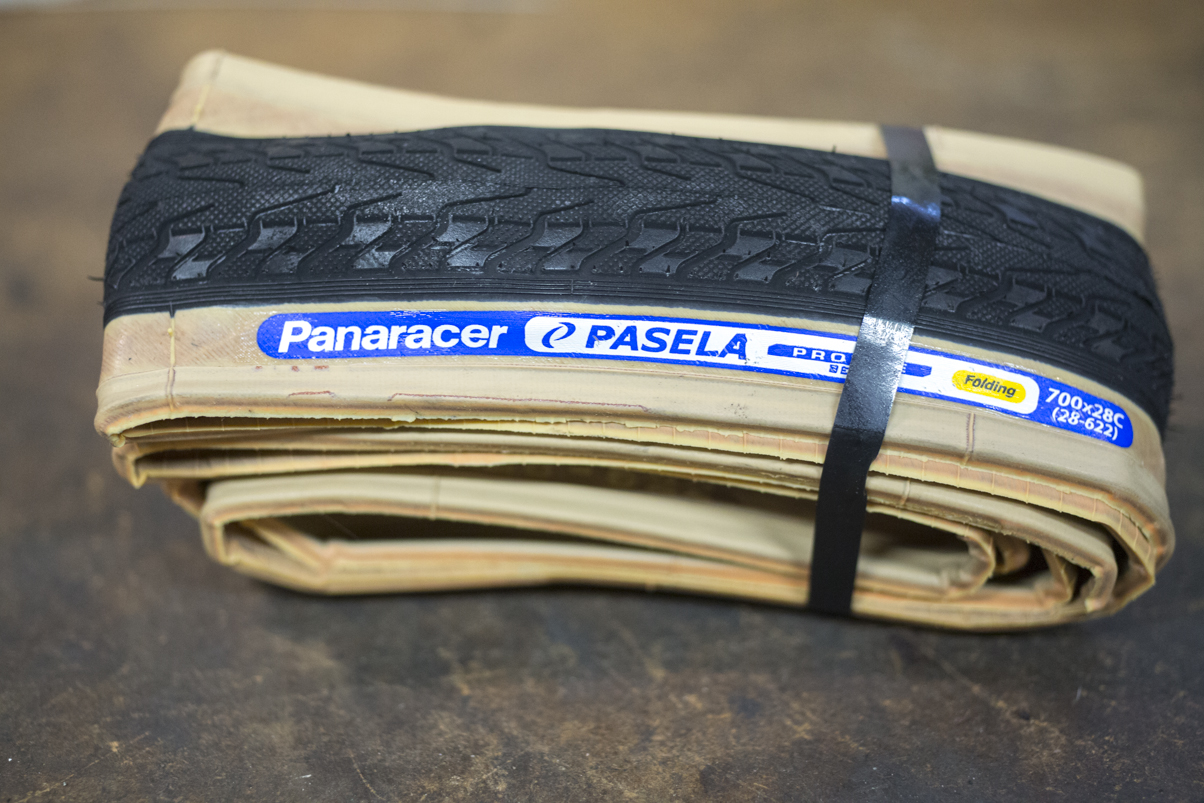
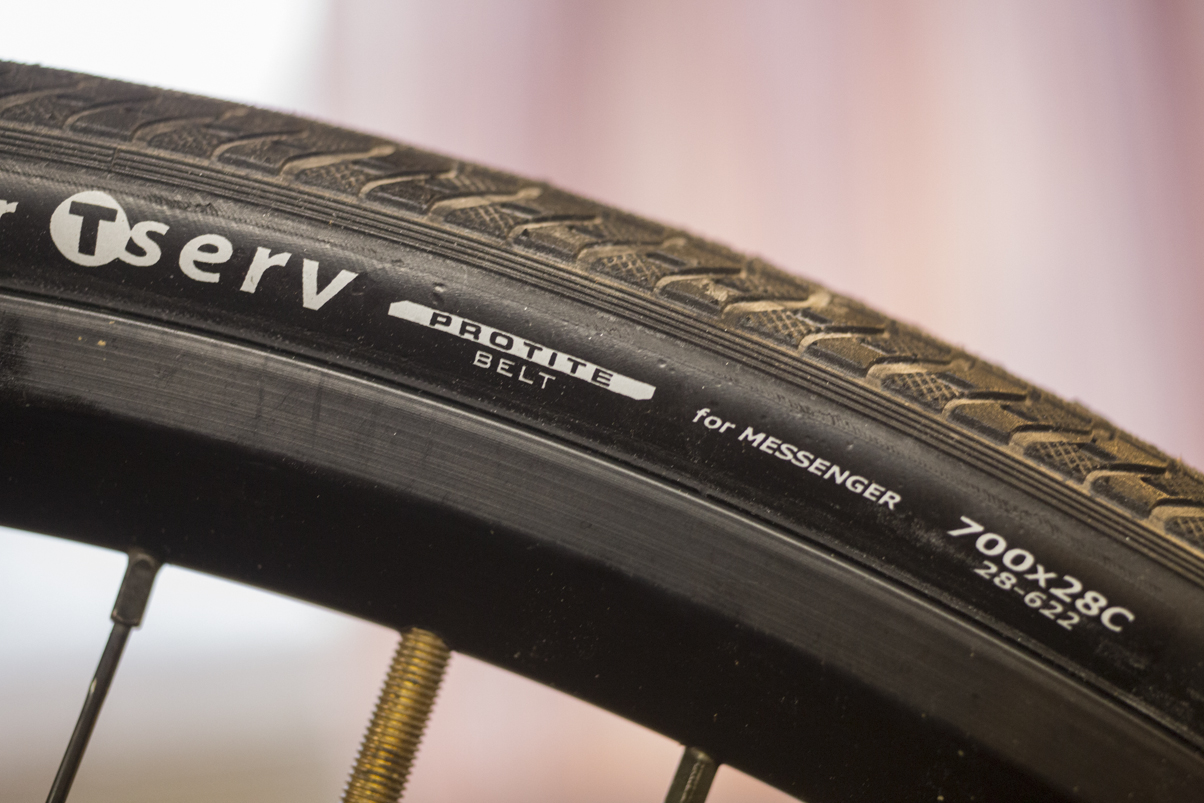
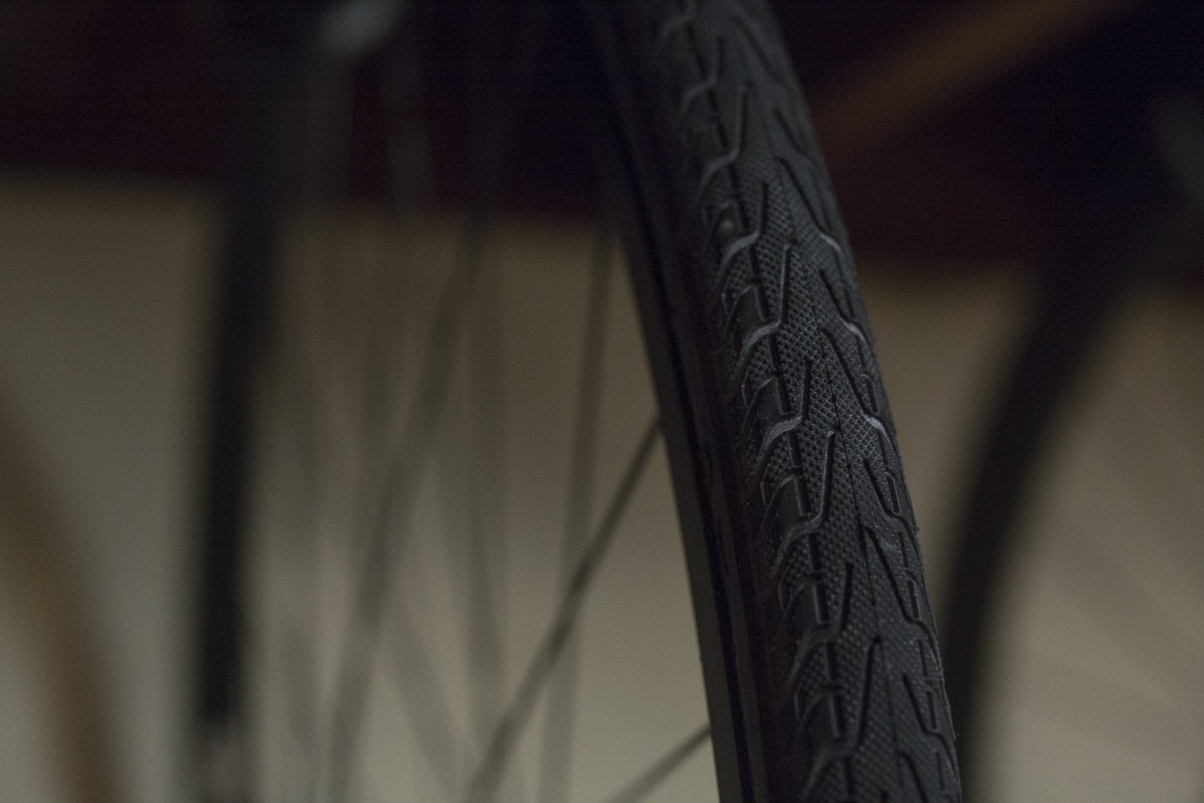
PANARACER PASELA & T-SERV PROTITE
My Ira Ryan porteur came shod with Panaracer Pasela TourGuards and I just finally replaced them after five plus years of getting around town. They were so good and so reliable, that I simply looked to recreate that reliability with Panaracer’s latest touring/commuter offering the Pasela ProTite. As a Portland commuter, the last thing I want to do is to be on the side of the road, hunting for spare tubes and tire levers in the rain. I want a tire that works, day after day. If anything, I thought, let’s go slightly more supple and see if we can get that same reliability with maybe a touch less weight and better ride feel. I feel like that’s exactly what I got with the Pasela ProTite. ProTite is Panaracer’s latest anti-puncture technology and claims it’s 24 percent stronger that their previous tech. My only gripe is that the 28c measure out to be a bit smaller, so maybe size up to the 32c if you want a true 28 -30c tire. So, to answer the question: Can you get ride quality and reliability in one package? With Panaracer, the answer seems to be YES! Tori swapped her Gravel Kings for T-Serv ProTites and had much the same reaction. A bit smaller of a tire, so not the volume she was used to with the GK’s, but she actually seemed to prefer the ride feel and hasn’t had to fuss with them once. Day to day dependability, Japanese quality and construction are what you get with Panaracer. Recommended!
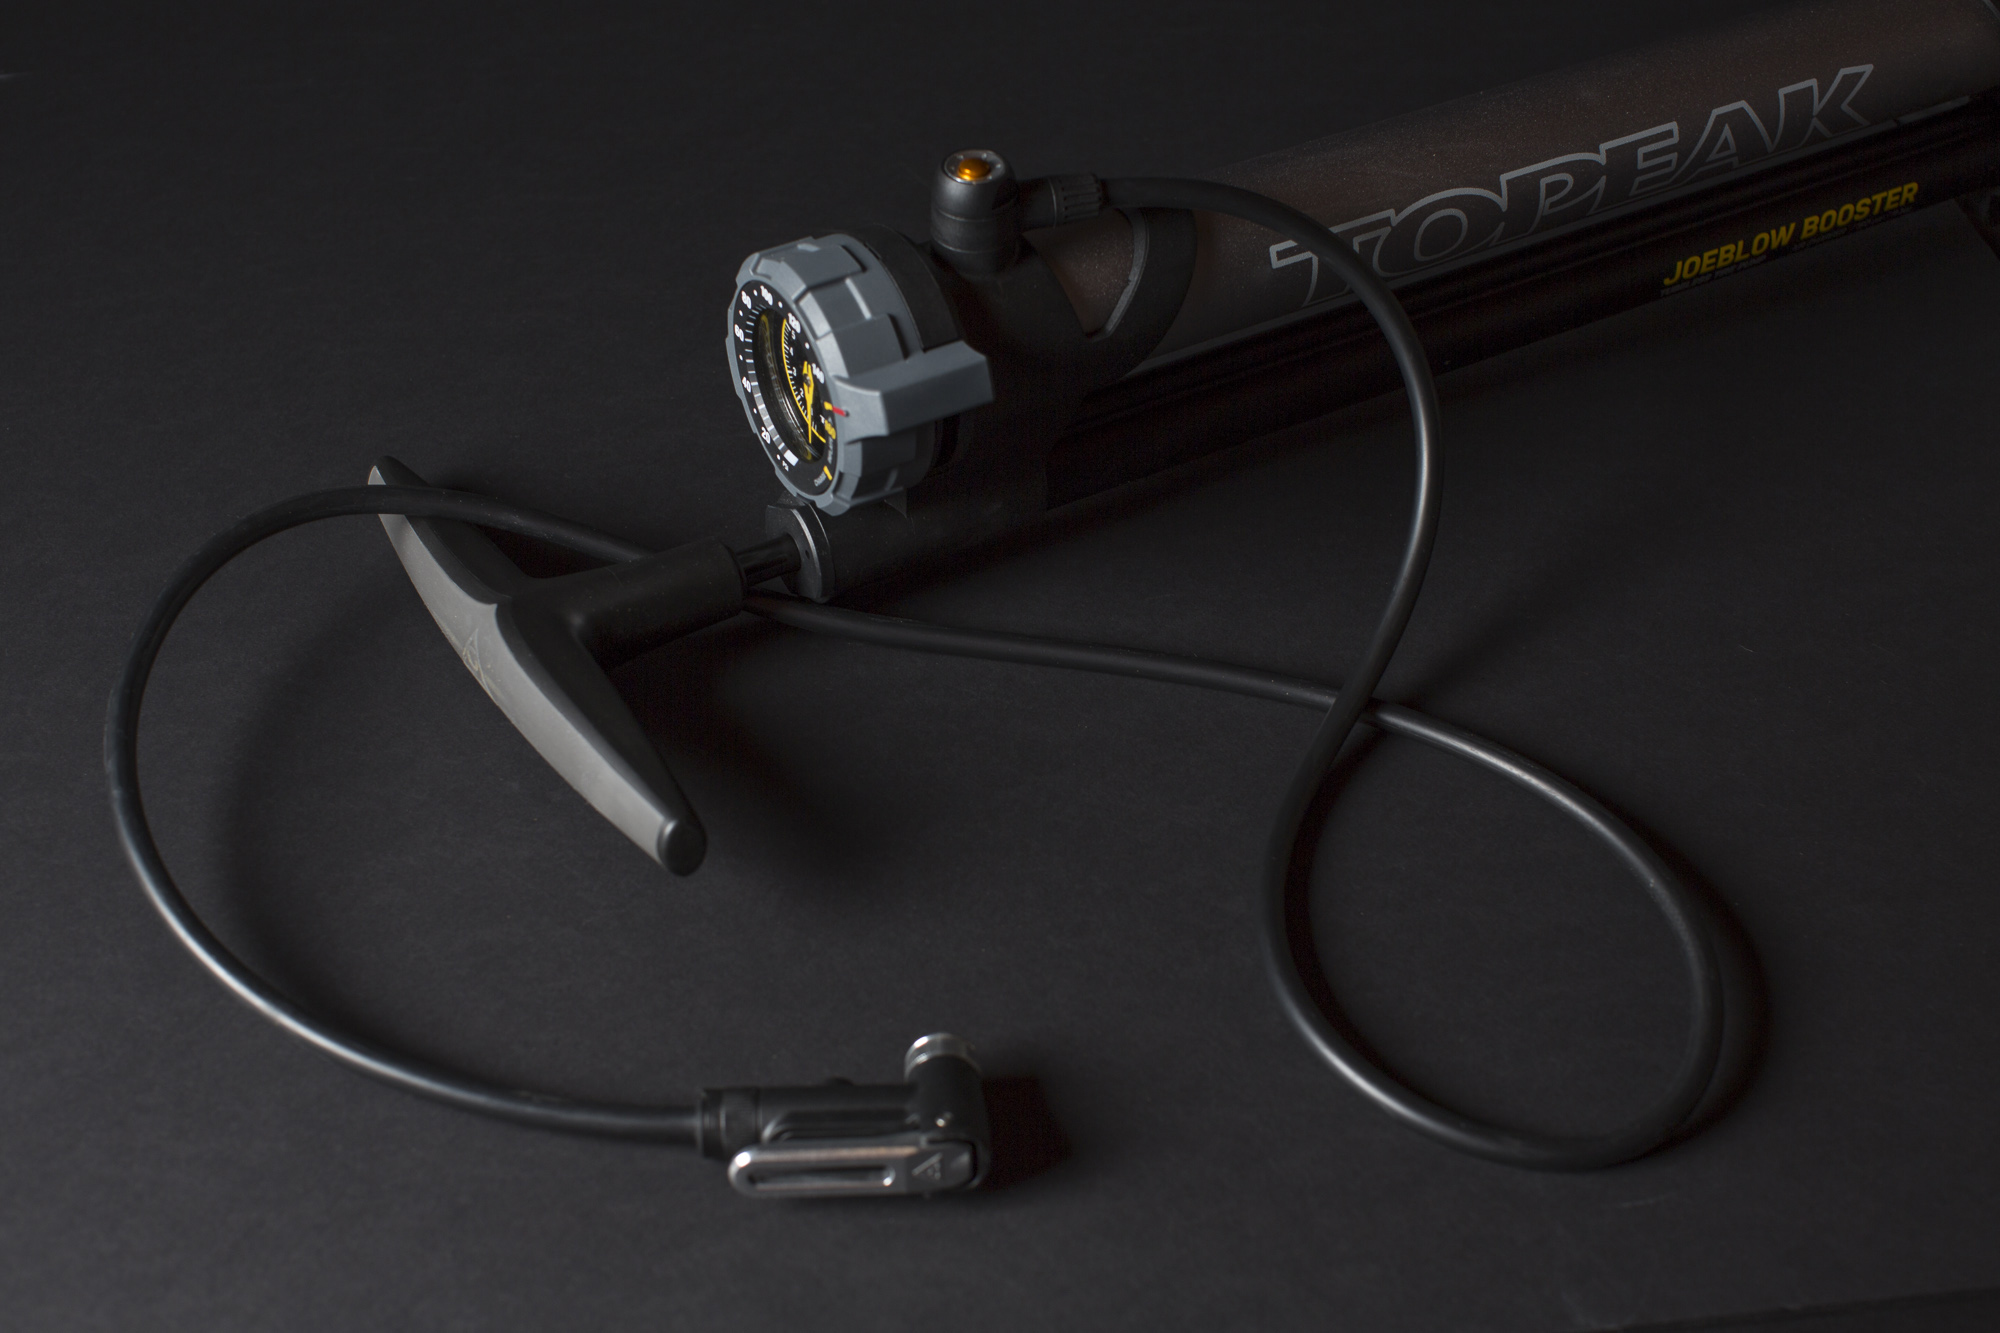
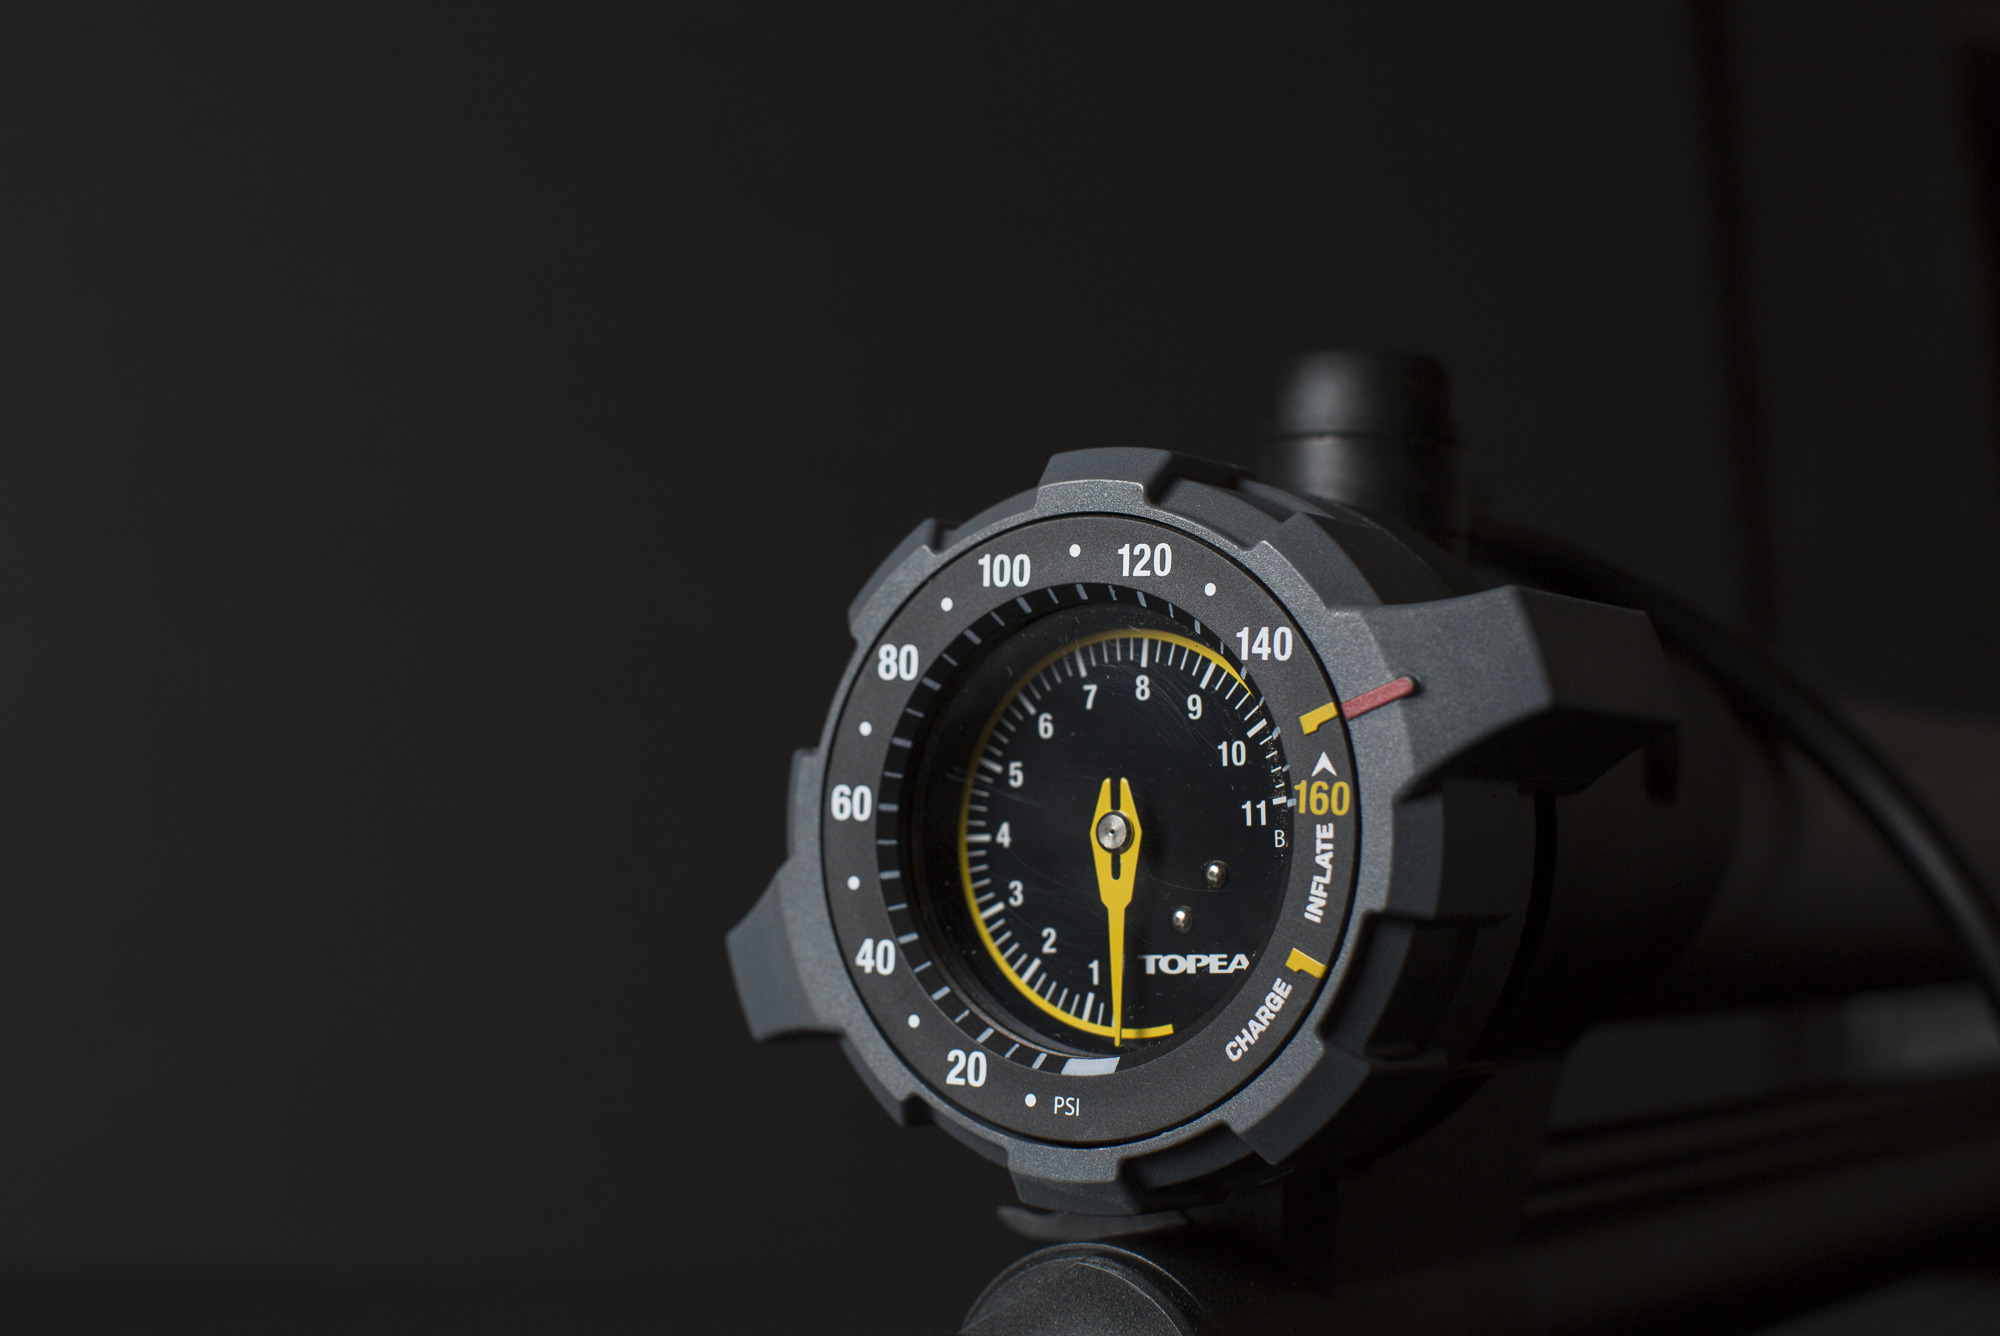
JOE BLOW BOOSTER FLOOR PUMP - $120
(Review by Tori Bortman) If you’re not familiar, booster pumps are for the at-home mechanic that doesn’t have access to an air compressor for seating tubeless tires. The idea is that the pump has an extra chamber you can charge-- in this case, the aluminum Booster canister that can be filled up to 160psi. Once filled, with a flick of a switch you can quickly release the stored air in into your tire with one whoosh, effectively making it a manual air compressor. After using other companies versions of this pump, I was braced to be disappointed, but as Topeak is by far my recommended brand of pump, I shouldn’t have been. This pump does everything as promised and makes seating tires on the rims a (very strong) breeze. The gauge is on the top of the pump where it’s easy to read, the entire pump is stable and comes with an extra long hose to give you lots of flexibility in where the wheel is during the whole process. Before I had a chance to read the directions, I found myself in need to reseat one of my student’s tubeless tires (of course, in front of said student). Using the pump and switching from “charge” to “inflate” was so simple and intuitive, I looked like I’d been using it for years. Highly recommended.
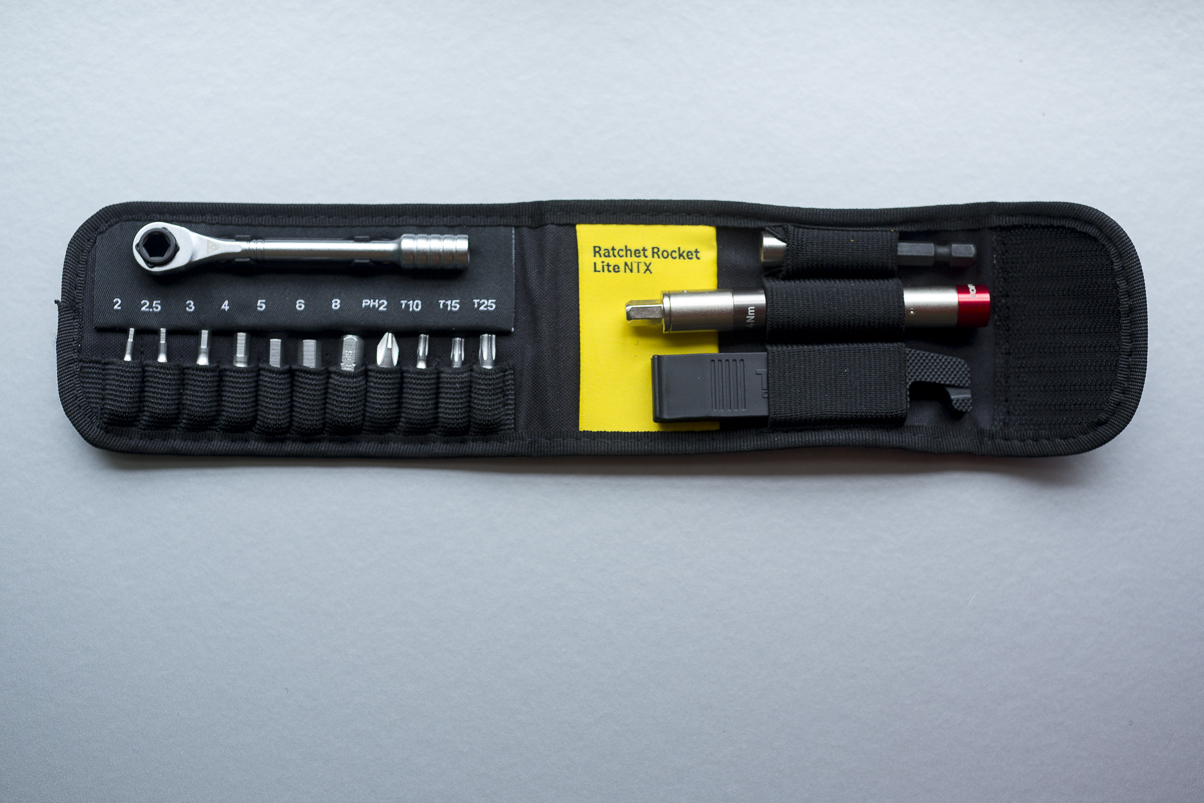
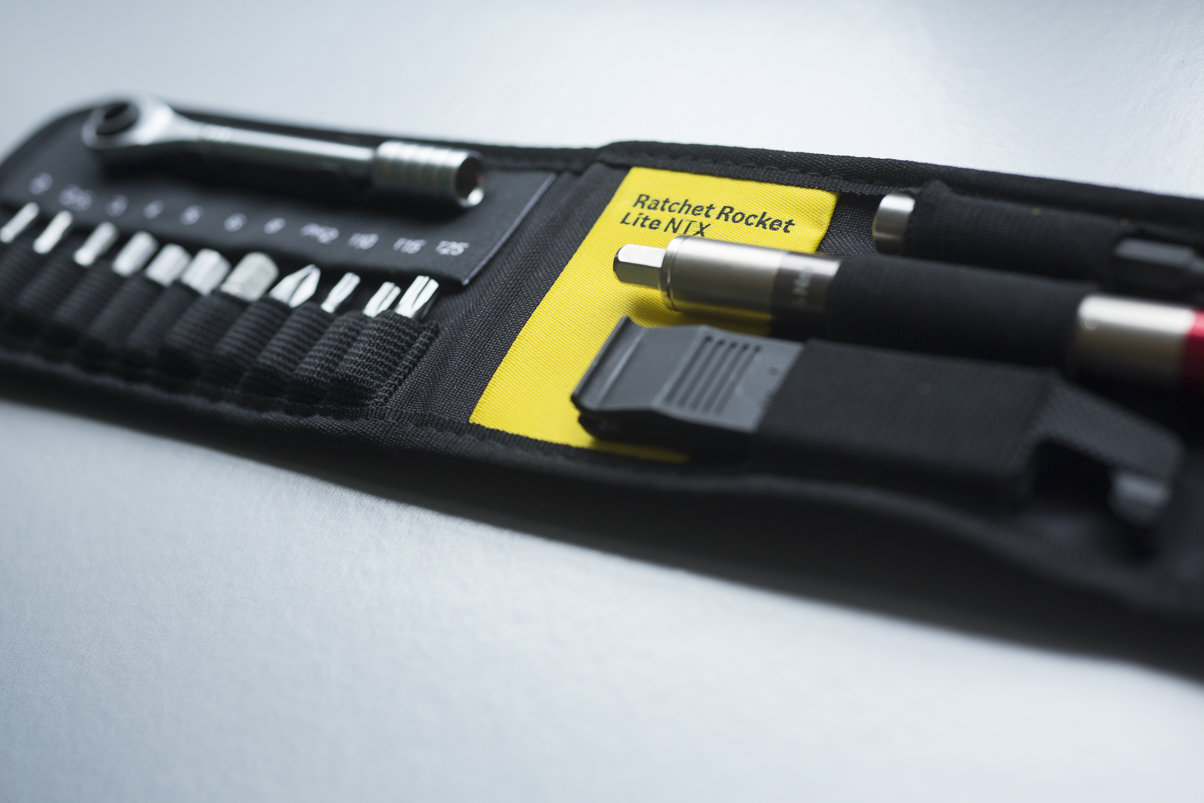
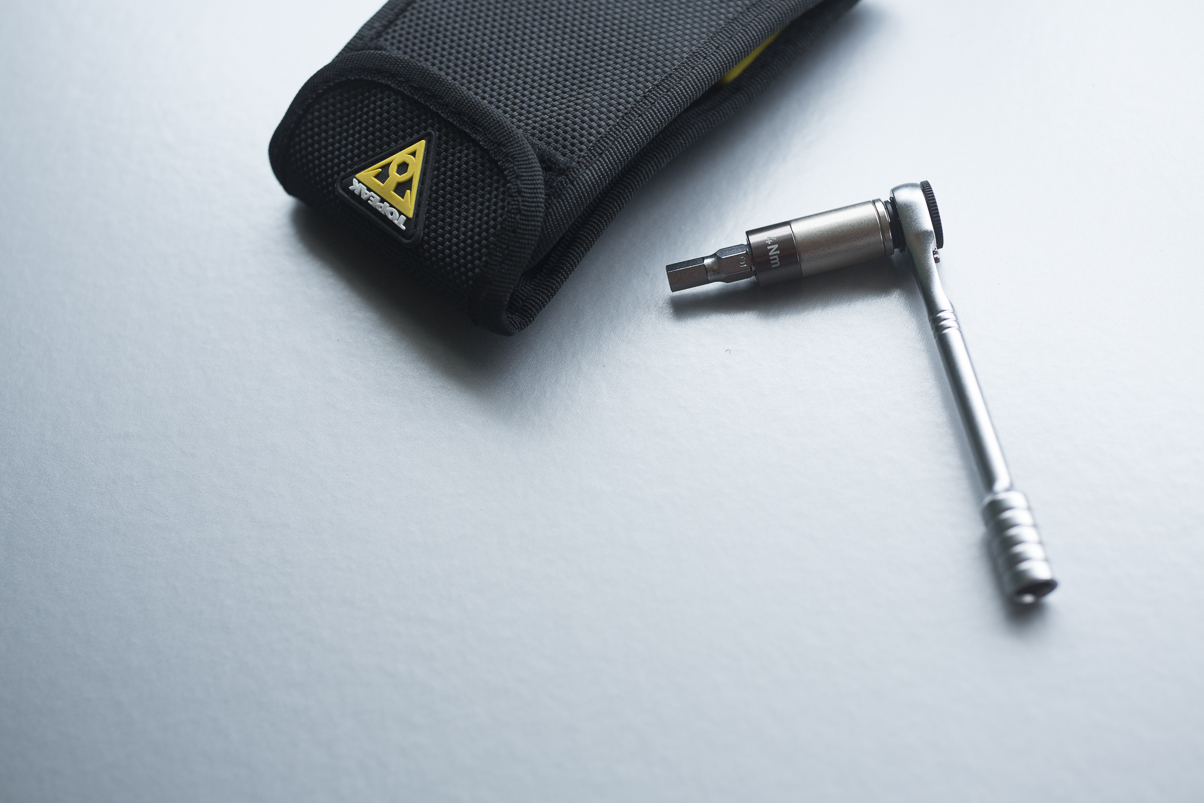
TOPEAK RATCHET ROCKET LITE NTX - $90
Topeak gives us a tidy little kit with the Ratchet Rocket Lite NTX. The great thing about this set is having both preset 4 / 5 / 6Nm bits and the ratchet driver. The ratchet is nice to get in some hard-to-reach places and I love the peace of mind that comes with tightening bolts with a torque wrench. Many of us ride expensive bikes that require precision and care when mounting parts, so why not use a good tool? I doubt I would carry the whole kit on a bikepacking trip, but the carry case is nice. I throw it in a weekender bag and have it handy for quick maintenance and checking bolts at the trailhead. Having a reversible ratchet is a nice touch as well. You get the whole set of Allen (from 2 to 8mm) and Torx heads (T10, T15, T25) as well as a #2 phillips head screwdriver.

TOPEAK NANO TORQBAR - $60
You don’t need all the bits that the Ratchet set provides and you’re looking for a slimmer kit? Check out the Topeak Nano Torqbar DX. The set includes 4 / 5 / 6Nm TorqBits and is the slimmest and most compact preset torque wrench available. It is a precision-crafted, high quality tool. Its advanced torque limit release design consistently applies precise torque values on component bolts for safety and prevents damage to expensive carbon parts. Also includes the 5 most popular tool bits, 3 / 4 / 5 mm hex & T20 / T25 Torx®. Two of your favorite bits can be carried in the handle of the Nano TorqBar for immediate use and even greater portability during rides.

MILKIT TUBELESS KIT - $60
If you’re a tubeless tire user, you know that clogged presta valves and running out of sealant are two of the biggest potential bummers. Milkit has solved this with their proprietary tubeless valves that seal when you've finished inflating, which keeps sealant from coagulating around the valves. When you want to add sealant, or just check your levels, insert the syringe with the clear tube attached, suck up what sealant you have in the tires into the syringe and add sealant if necessary. It’s a great system that works!. The idea is that the aluminum container doubles as a water container, and then acts as the air compressor container for resealing your tubeless system on the road, so you’d just need to carry the booster head and you’ll be good to go. Maybe it all seems overly complicated for keeping your tubeless system trouble free, but if you have experience with tubeless, you know that when it works, it’s the best thing ever, and when it fails, it can stop you in your tracks. Milkit helps you keep your tubeless setup humming along, and that’s a good thing. The idea is to carry what you need, not spend time on your travels looking for a compressor.
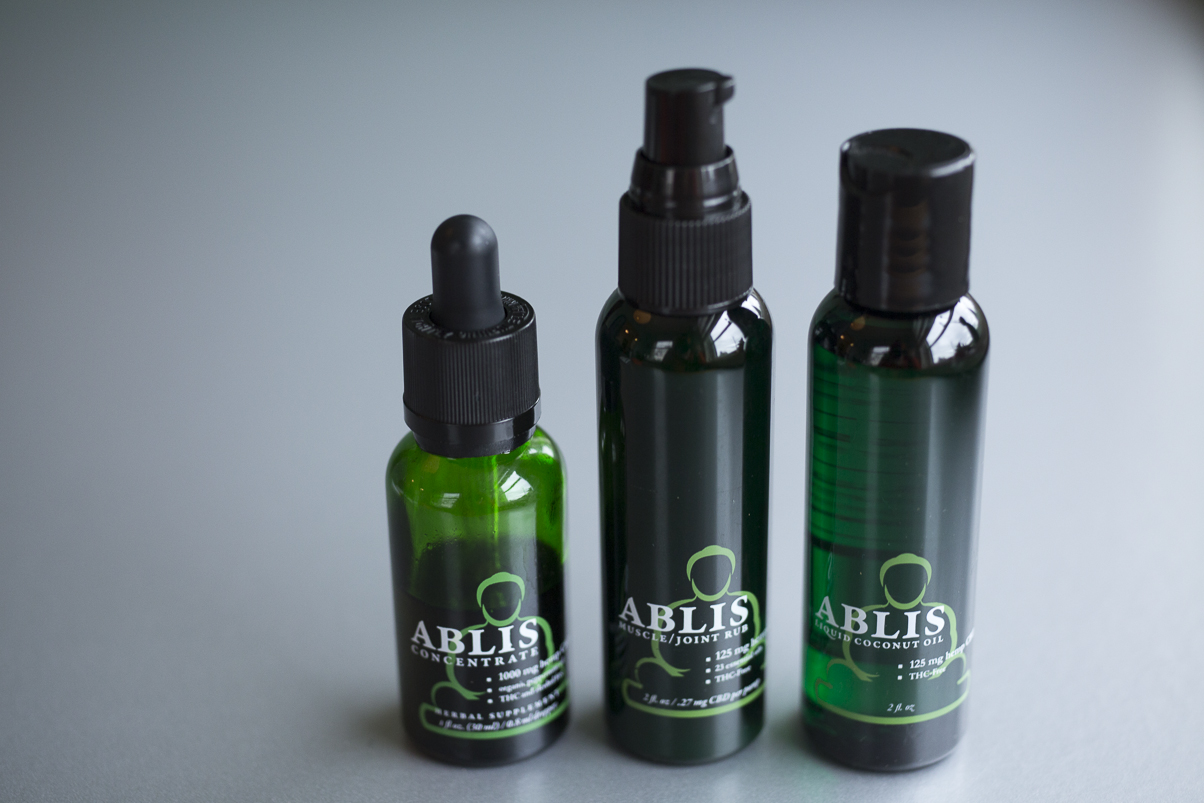
ABLIS CONCENTRATE - $70 MUSCLE/JOINT RUB - $25 LIQUID COCONUT OIL - $25
CBD is all the rage right now, isn’t it? As athletes, we want pain management, but we don’t want to destroy our livers by taking ibuprofin every day. Personally I want something that’s all natural and not addictive. Over the years, I’ve come to realize the CBD is what I’m after. I want pain management, without feeling high or fuzzy-headed. We became aware of Ablis when we saw their CBD beverages at our local brew pub. It turns out Ablis is a Bend-based company that makes a full line of CBD products - all of which use high quality, non-GMO, all natural ingredients. My issue has been pain from shoulder dislocations. I’ve used both the concentrate and the joint rub with great results. The liquid conconut oil (fractionated MCT oil) can be used both topically as a rub, or in food or drink. A teaspoon of the oil has about 10mg of CBD. Max at Ablis told me about a place that uses the MCT oil in their hollandaise sauce for CBD eggs benedict. yes, please! Check out their delicious bottled beverages as well, which make a nice alternative to chilling out with a beer. Each bottle has 25mg of CBD. There are a lot of CBD brands, but I feel good with Ablis, knowing their a small, family operation down the road in Bend with a focus on quality and all natural ingredients. Give them a shot.

INFINIT NUTRITION RAW PURE PROTEIN RECOVERY POWDER - $55
Not all milk is created equal. Apparently if you feed cows a diet of organic grass and legumes, then they produce a milk that is higher in omega fatty acids and conjugated linoleic acid, which is another beneficial fatty acid. Why all this about milk when we’re talking about a recovery protein powder? Well, Infinit has just released their RAW recovery powder, which contains grass-fed whey protein isolate. Beyond whey protein, they have packed it with an exclusive blend of branched chain amino acids and L-Glutamine. It’s free of any additional sugars and it blends up really well, with no clumping. I’ve been looking for a high-quality protein for my recovery smoothies and right now, the RAW is my go-to. I think they have a winner with this one. 28 servings per pouch.

SKRATCH ENERGY BARS - $2.65 RECOVERY DRINK MIX - $3.50
Skratch has always taken their own path. I tried their new line of energy bars at Interbike and thought they’re unique enough from what’s currently available and we’re always interested to turn our audience on to new nutrition products. I felt the “savory miso” flavor was the most unique. It actually has some shitake mushroom powder, garlic powder and red pepper for a savory bar with some interest for your taste buds. We get sick of bars that just taste of nut butter or cookie dough, don’t we? I do. All their bars are non-GMO, kosher, and dairy free, and gluten free. Also worth mentioning is that the bars contain 50 percent less sugar than most bars on the market. Their recovery drink mix “is a 4 to 1 ratio of carbohydrate to protein, that’s designed to bring your blood sugar up fast. This causes the hormone insulin to spike, which is key to getting the sugar, electrolytes, fat, and protein in our Sport Recovery Drink Mix back into muscle fast. Basically, our Sport Recovery Drink Mix is really sweet milk – like chocolate milk, but without a tongue-twisting list of excess ingredients and with a more optimized macronutrient profile for restoring muscle glycogen” We like that the drink mix comes in single serve pouches, which might be nice to take for recovering in the evening while bikepacking or traveling.
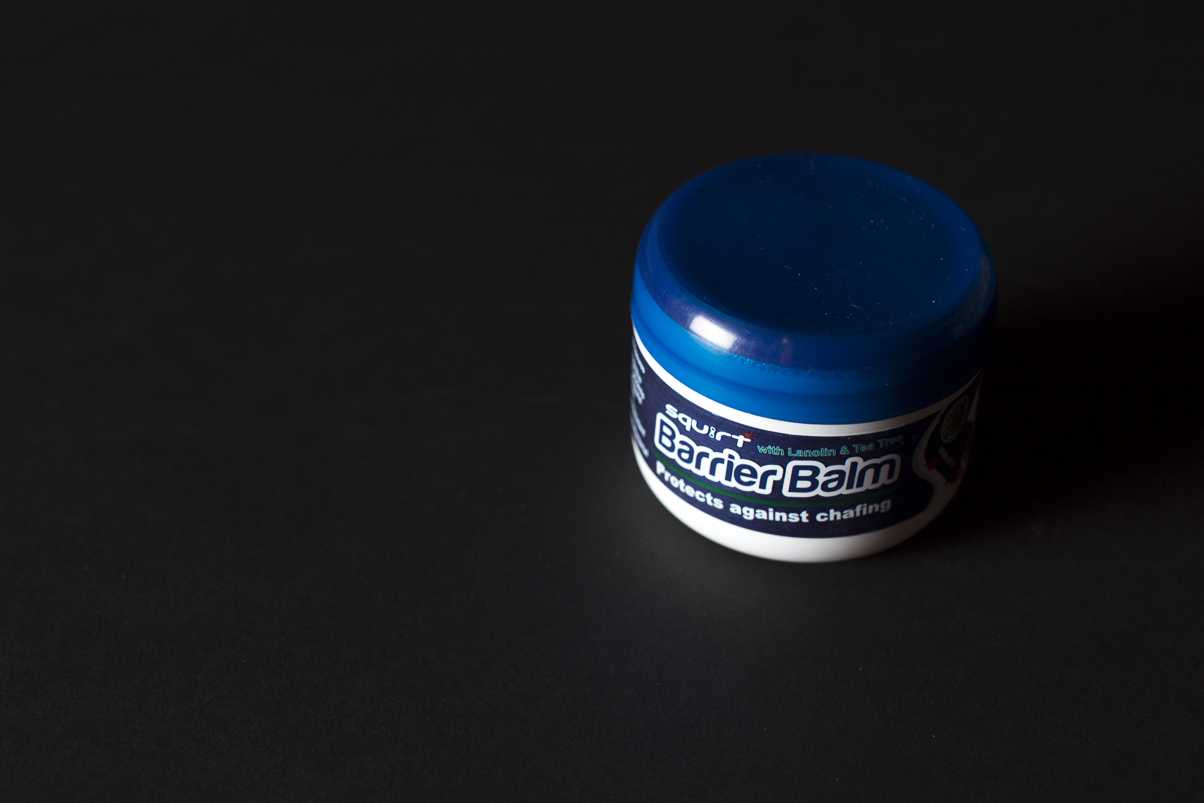
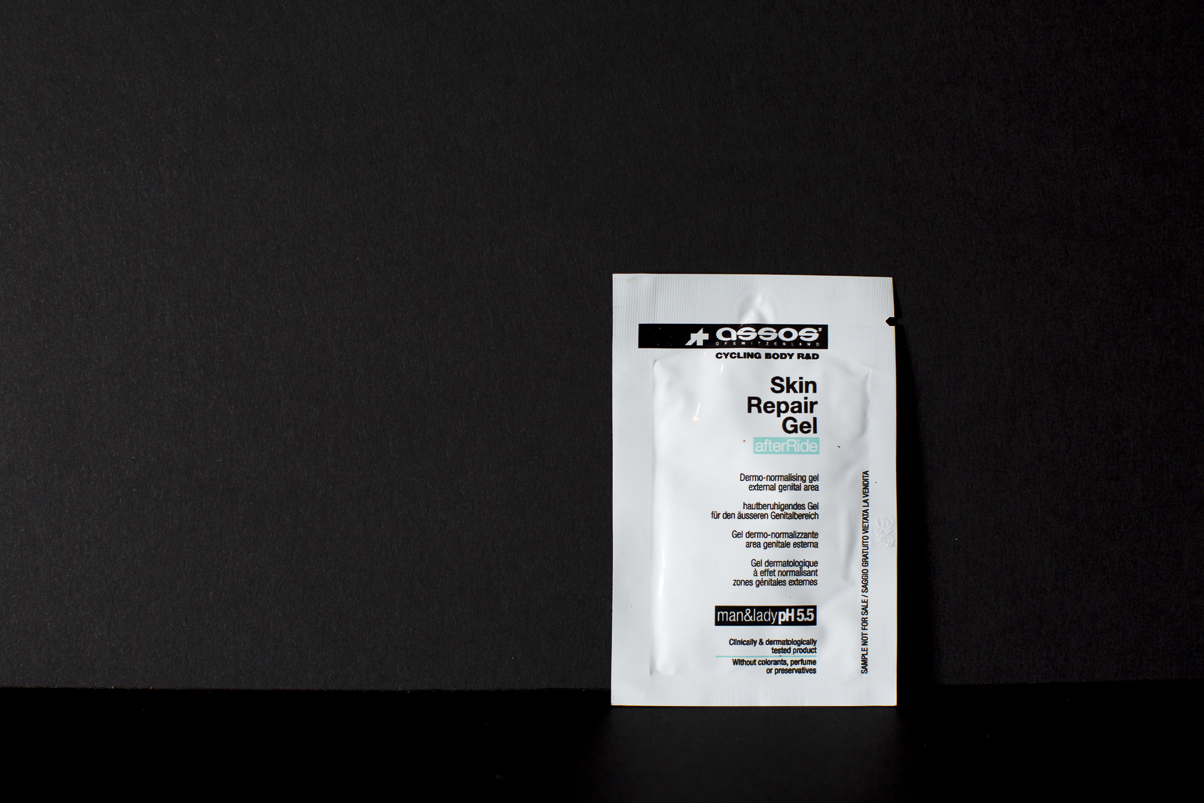
SQUIRT BARRIER BALM - $20 / ASSOS SKIN REPAIR GEL - $35
Two products that may help your sore bum after a long day of riding. The Squirt barrier balm, which is anitfungal and antibacterial, goes on before the ride as protection from chafing and the Assos is relief from saddle sores. The Squirt balm seems very thick and sticky and feels like it stays put and will last all day. Find the single serve sample packs to take with you on your multiday trip. I know you’ve worked hard to toughen up down there, but chafing happens, and when it does, it’s nice to have some relief in your first aid kit.