
Winter Survival Guide
Whether you’re braving the elements and riding your fat bike or your road bike to get ready for spring, or hung it all up in favor of trail running or cross country skiing or snowboarding, we’ve pulled together some of our favorite ideas that can make winter better. We love the season for everything that summer is not. It’s an introspective time, to do less, to take time to cook for yourself and enjoy good food with family and friends. Let's make some good coffee in the morning and let’s gear up for a creative and productive 2017!
We've been doing some winter miles…yes, outside…when it's not iced over…and our favorite pieces (as reviewed in our Gear Guide) are still the 7Mesh Corsa Jersey, Rapha Thermal Shorts, IBEX and Swiftwick wool socks, Pearl Izumi SELECT shell pants, and the Montbell Plasma 1000 down jacket. For shoe covers we've moved on to an Endura MT500 overshoe for cold rides.
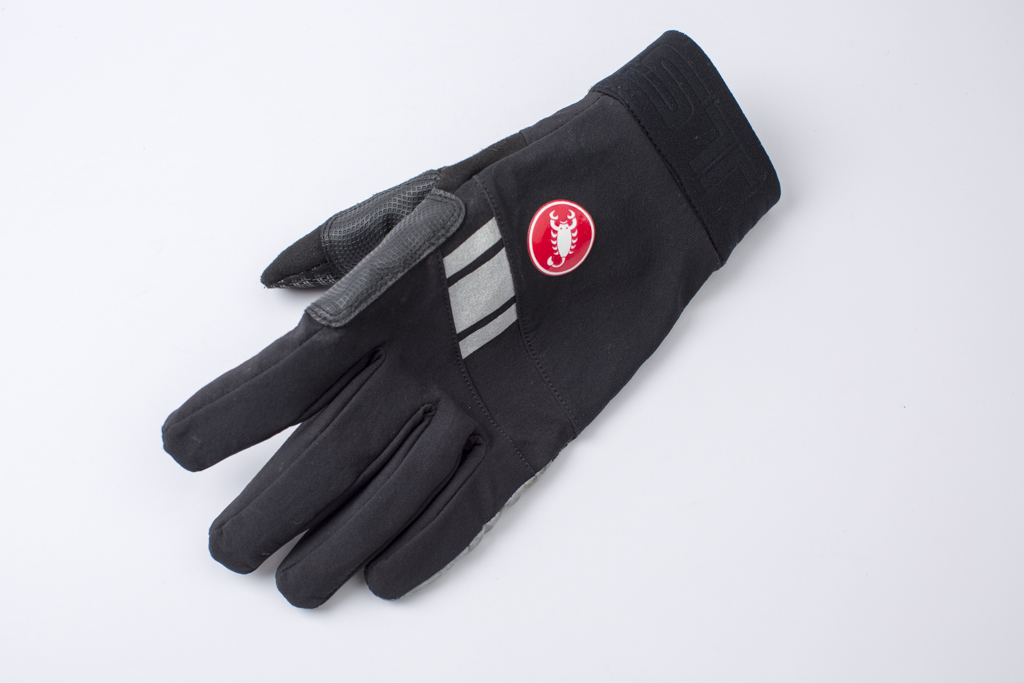
GLOVES
Get some proper winter gloves. Some years the weather is mild and you can get by with Fall gloves in Portland, but not this year! We’ve been playing with water shedding gloves from Castelli (Tempesta) and Sealskinz and more recently PRO AmFIB Super and PRO AmFIB lobster gloves from Pearl Izumi. They've made the difference in keeping our hands warm on some truly cold rides. Bring a second (or third) pair of gloves in case your first get soaked or just aren’t keeping you warm enough. In a pinch surgical gloves can act as a vapor barrier and weigh next to nothing. You can put them on in the case of a tire change to keep your hands warm and clean.


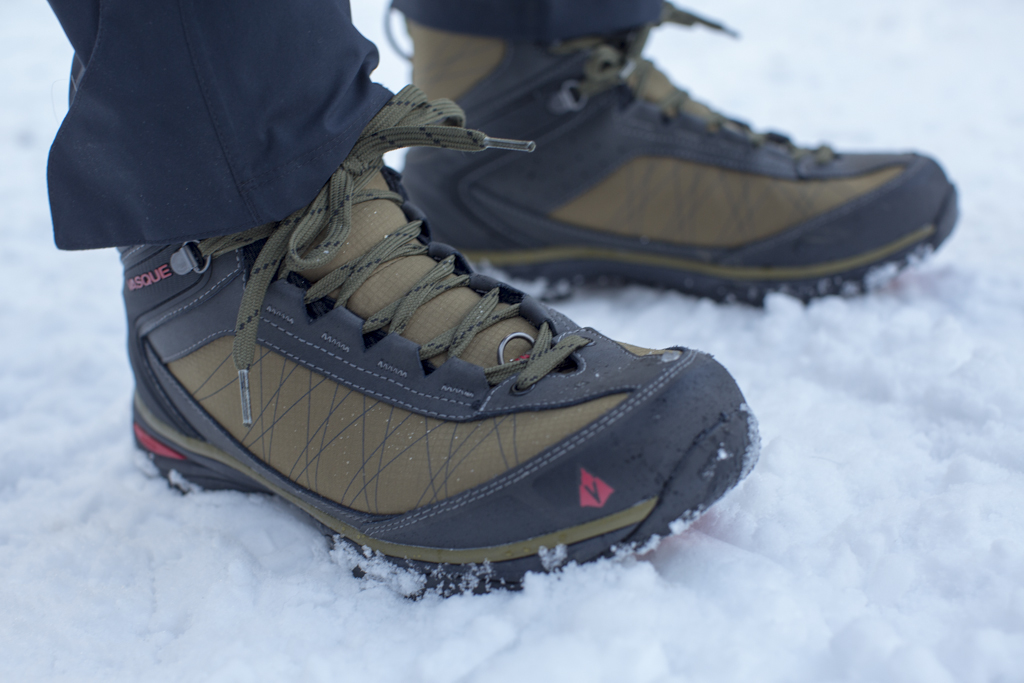
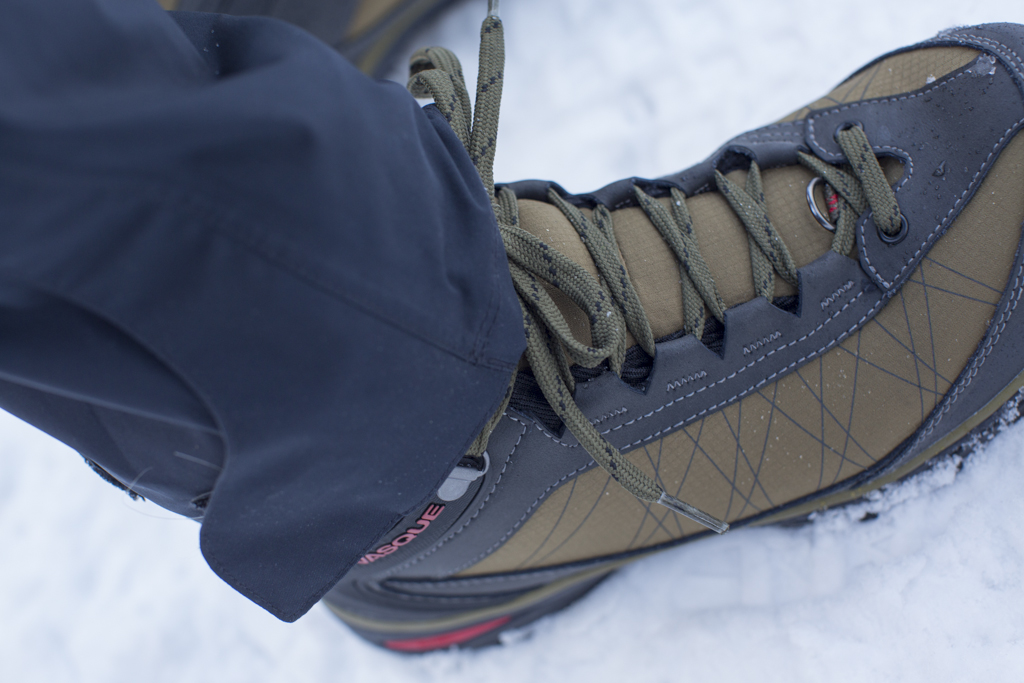
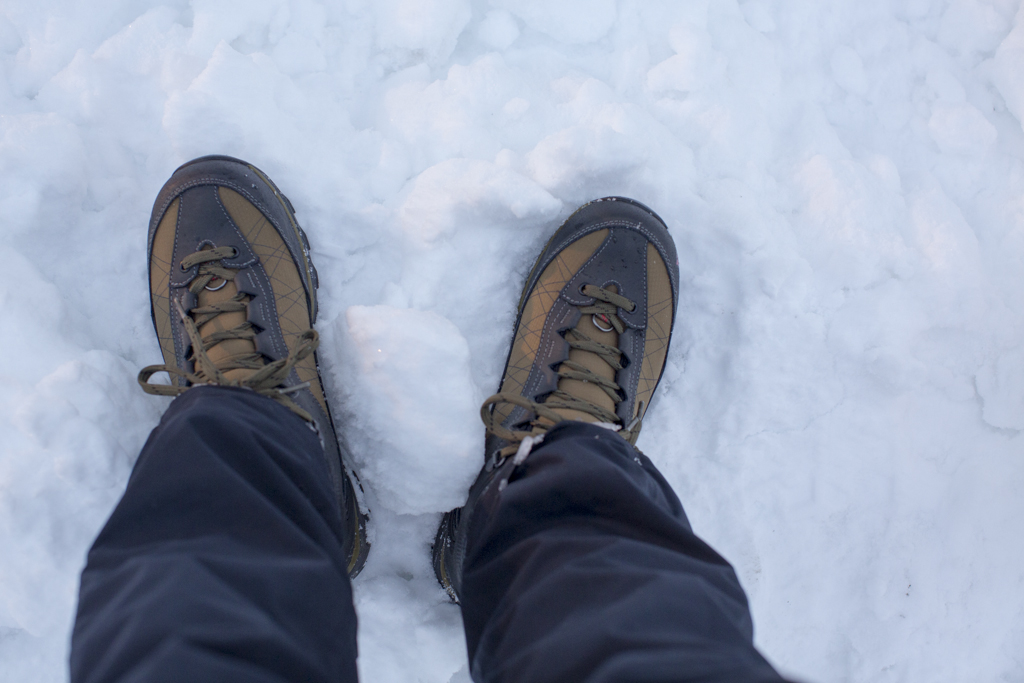
BOOTS
I've been making do with standard hiking boots in the winter, but this year I got some good insulated winter boots for stomping around – hiking or snowshoeing. We’ve been using the Vasque Coldspark Ultradry. I'm been Vasque fan for years- I've been wearing their Gore-Tex Sundowner model. Portland winters traditionally haven’t been cold enough to require dedicated winter boots, but things change. The Coldsparks have made all the difference in keeping my feet warm and dry! Don't get these thinking they're stiff mountaineering boots, on the contrary, they’re light and feel like wearing insulated high top sneakers. Comfortable right out of the box with a nice pre-curved tongue. Dual compound outsole gives solid traction on a variety of surfaces - whether snow or muddy trail. Essential for anyone with cold winters looking for a warm, lightweight all-rounder.
LIGHTS
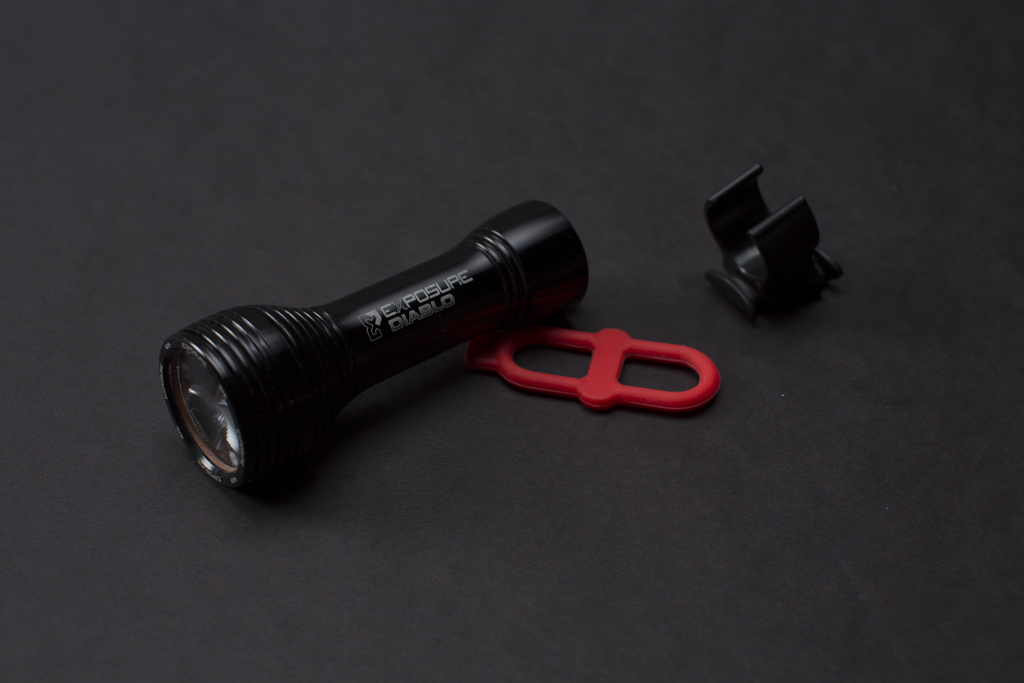
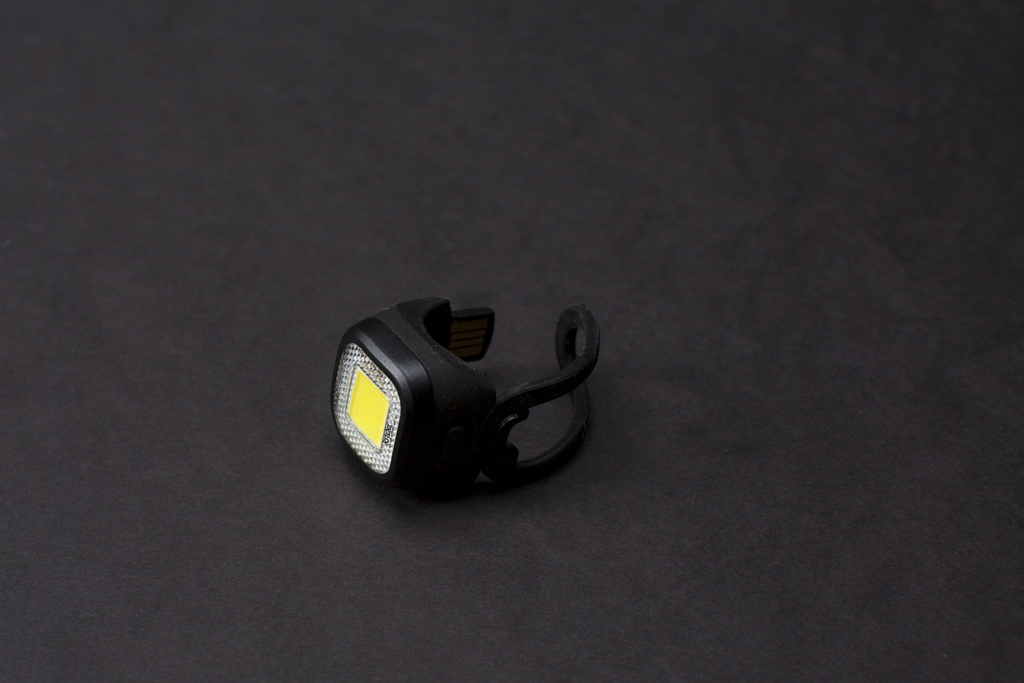
Make yourself as visible as possible. If you head out on the bike, get some good lights for your rig. We’ve been running the Exposure Diablo mk8 up front. We love the amount of bright light we get in such a small package, and the fact that it’s USB-chargeable and programmable. We’ve been using the Knog blinders for rear lights with good results – as long as we remember to charge them at night.
For the coming season, we’ll be working with Sugar Wheelworks to build a dynamo hub wheel that we’ll pair with a KLite light and sinewave Cycles USB charger unit. We look forward to having full time light and charging capabilities on board. More on that soon!
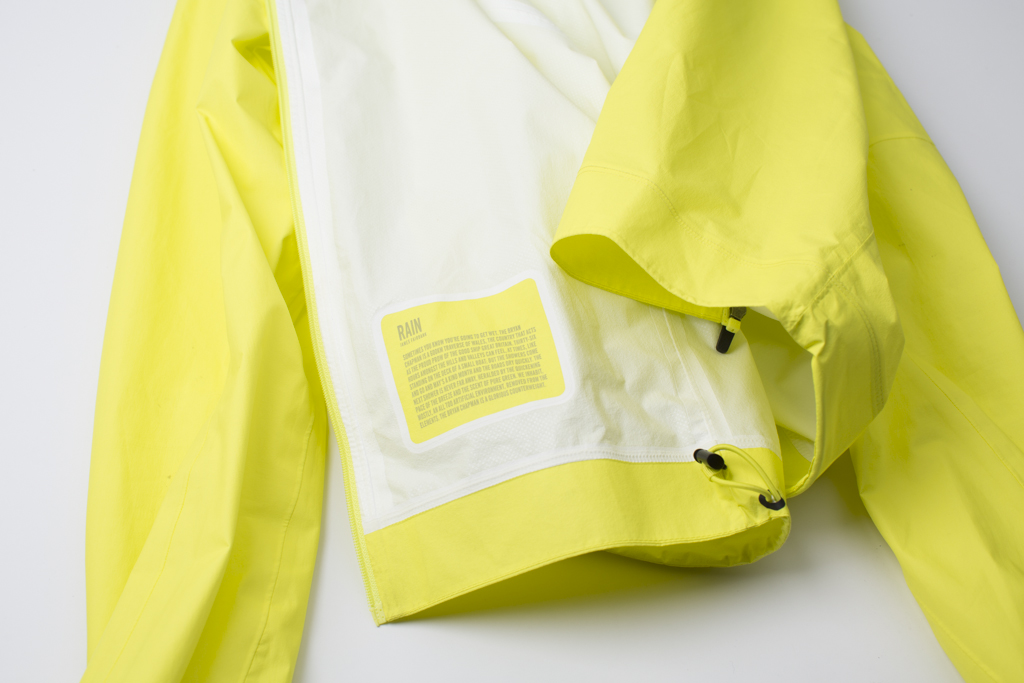
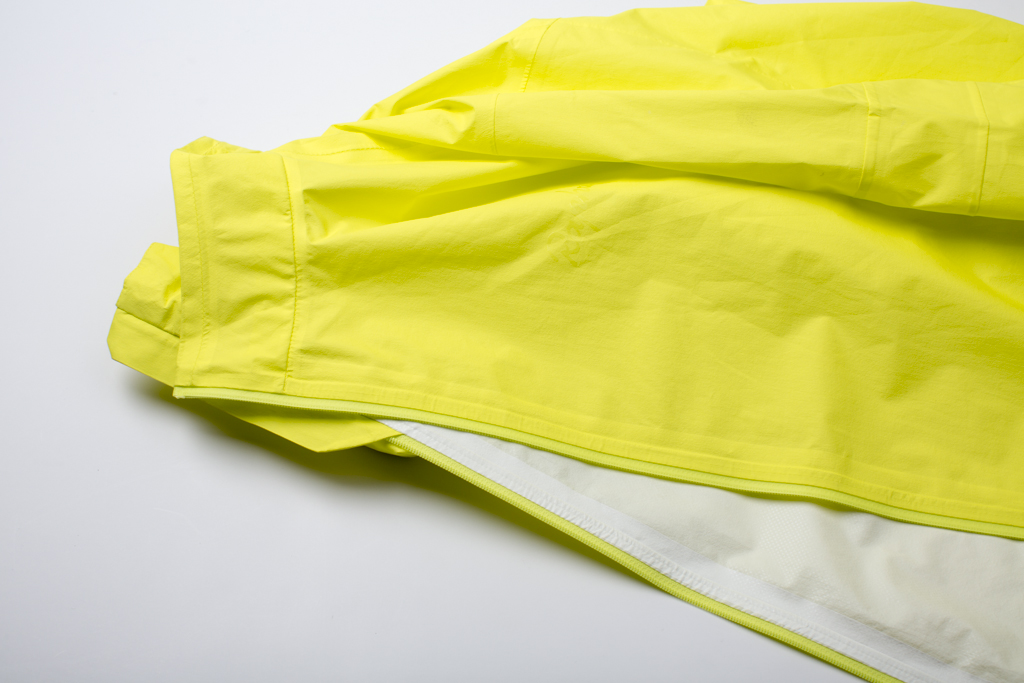
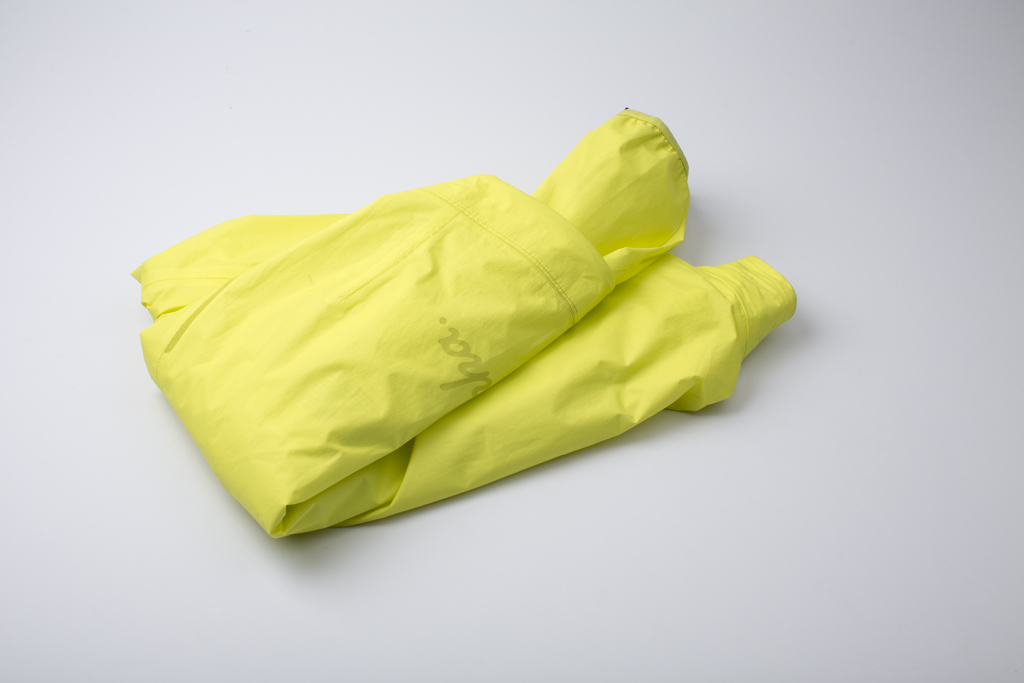
We’ve been testing the Rapha Core Rain Jacket with good results. It’s plenty rain proof, lightweight and very visible! It's been excellent in the breathability department thanks to its 2.5 layer body (and 3 layer in the sleeves) construction and 6 vent holes in the pits. We like that the fit is a bit more relaxed overall and may be more suitable for “normal” bodies, not just the superthin racers of the world. Our only gripe is how snug the arms are around the elbows when we wear it over long sleeve jerseys.
ROAD TUBELESS & DISC BRAKES
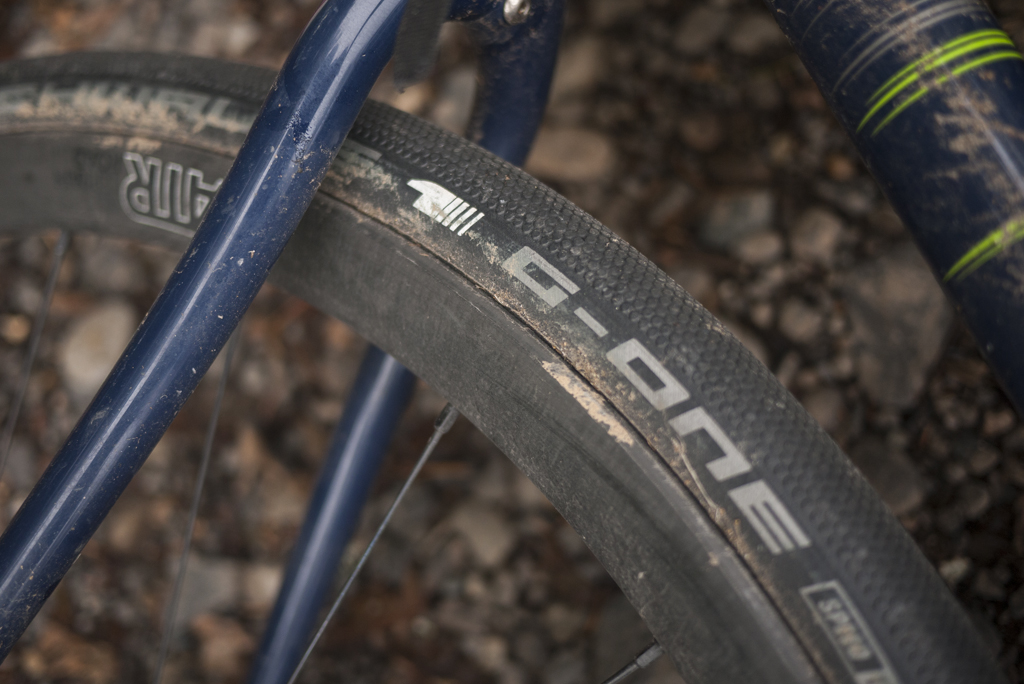
Tubeless for road. We’ve been riding Schwalbe 30c G-one tires on Reynolds Attack wheels and have had zero flats, which is a huge deal this time of year with the amount of junk lining the roads. On one wet day we took out our bike set up with traditional tubes (with 25c tires) and flatted, so that reinforced the brilliance of tubeless road tires. Disc brakes make grinding dirty rim brake tracks a thing of the past.
BOB'S RED MILL
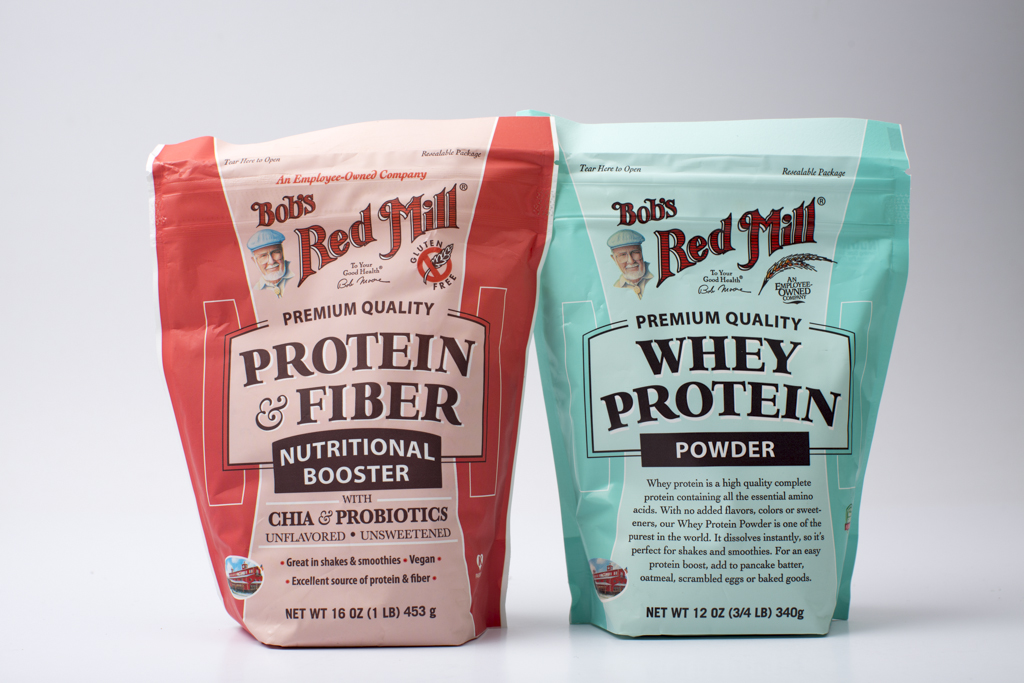
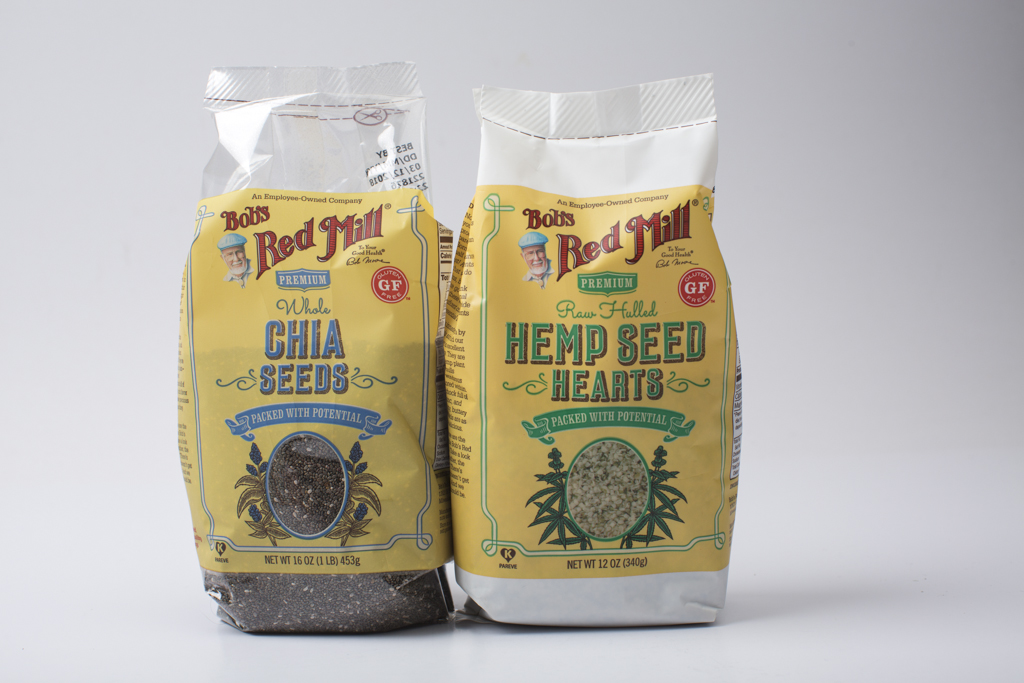
One of our goals with Benedicto was to celebrate local companies that make great products and do good business. Bob’s Red Mill does both. This time of year we’re busy making homemade granola, blending up smoothies to recover after rides, making lots of soups and stews. We end up buying lots of Bob’s product, because we know the quality is good and it feels good to support a local company. Bob’s has been at Cross Crusade races for years, serving up free oatmeal, and years ago Bob put ownership of the company in the workers hands. That’s just rad. So, we’re showcasing a few of their new releases like their protein powders and muesli as well as some staples, like hemp seeds, chia, lentils, and orca beans. We're particularly loving their Paleo style muesli - it's a great blend of coconut, nuts, and fruit. It makes a great add-in to our homemade granola or morning oatmeal!


On a recent trip to the Bob's Red Mill store we grabbed a piece of apple German cake and it was so good we had to make it at home. (Note, we reduced the sugar to 1.5 c)
COFFEE UP!
We reached out to 3 of our favorite Portland roasters – Heart, Stumptown, and Water Avenue for their suggestions on brew methods and bean varieties to keep you going through winter.
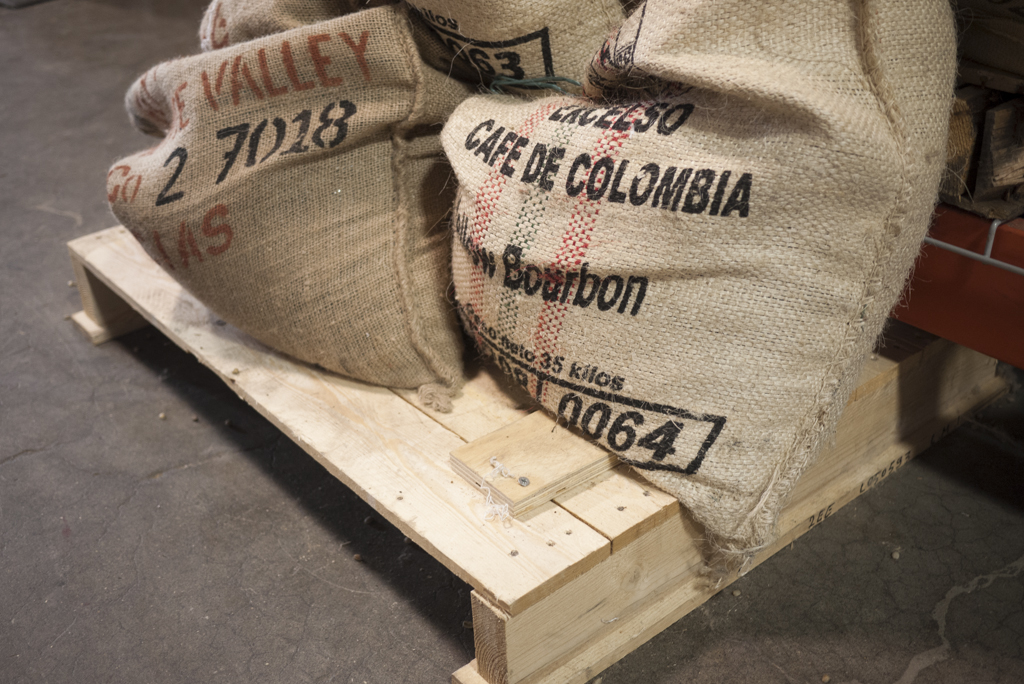
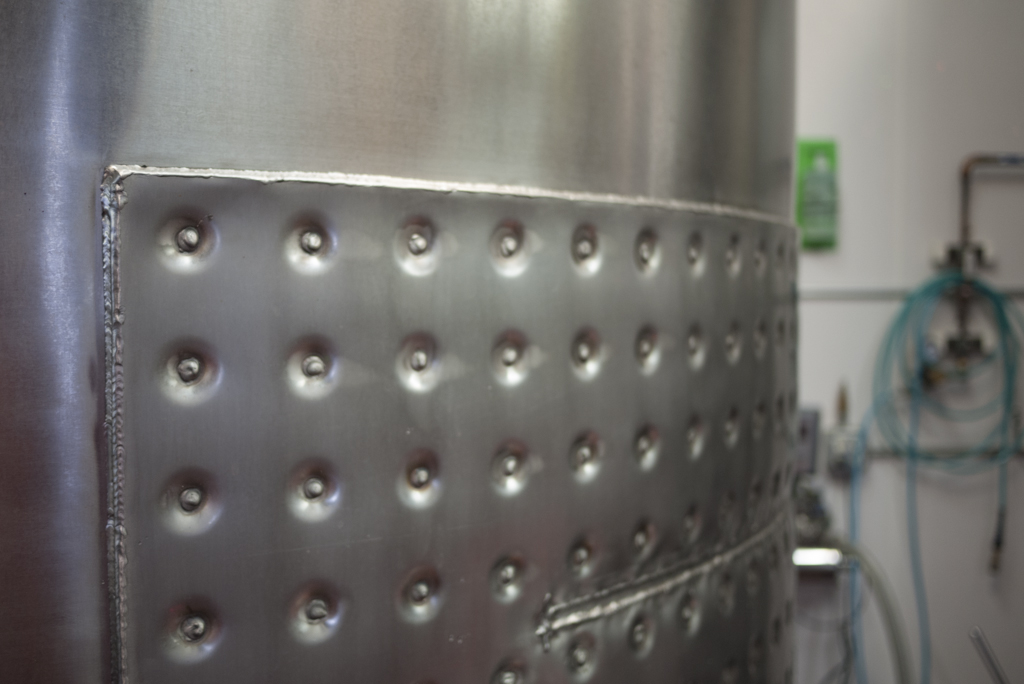
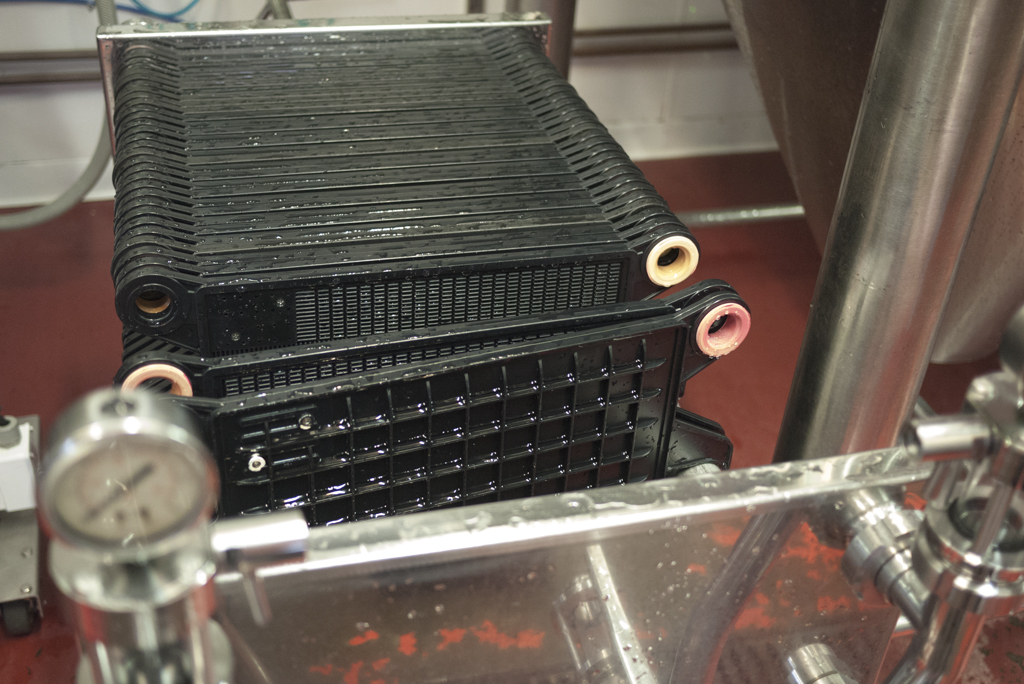
Water Avenue Coffee has been a great meeting spot for group rides in Portland for a long time now. They sponsor our friends at Breadwinner. They serve a great coffee and we believe them to offer a high quality coffee bean at a reasonable price. We asked them for some tips and suggestions on improving our camp coffee game. We also got a tour of their production facilities…

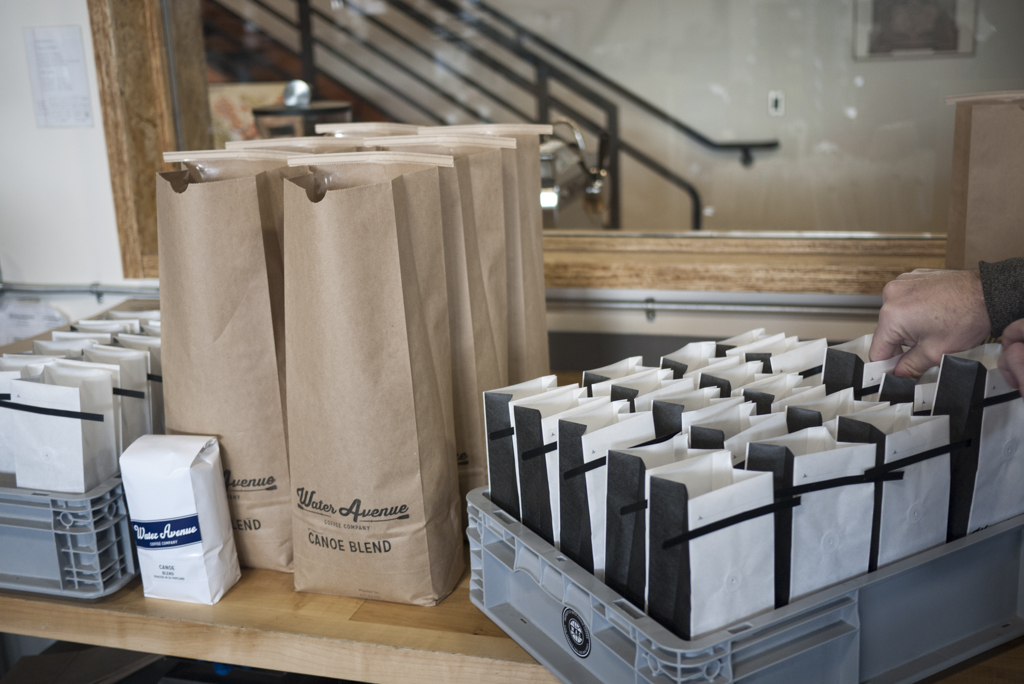
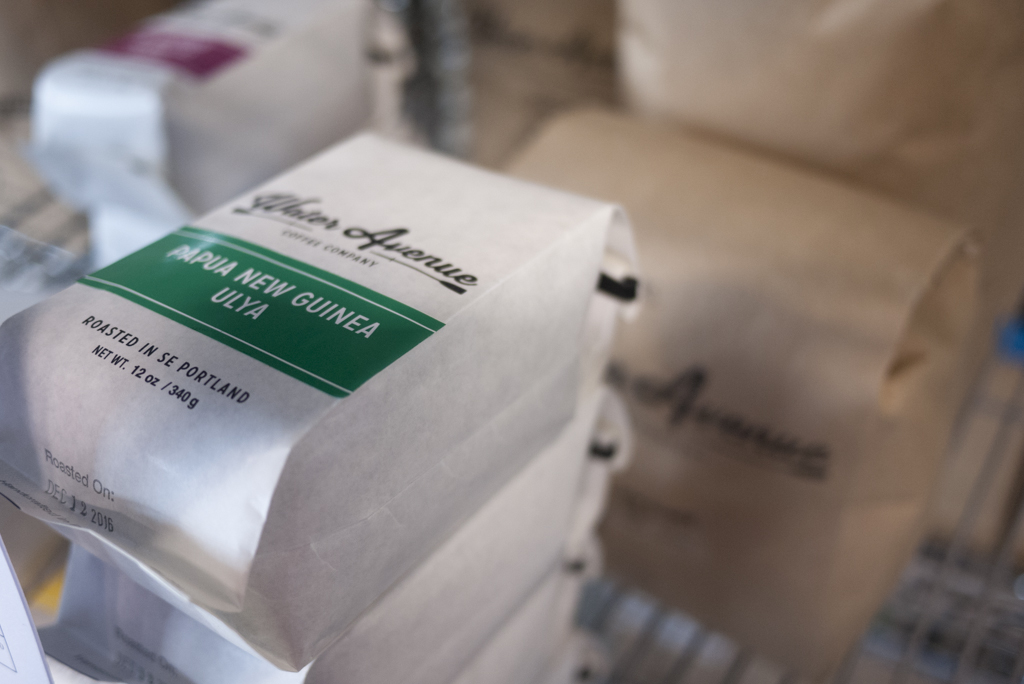
Our idea was to focus on three different coffee varietals and three different brew methods. Josh from Water is a backpacker himself, so he understands the joy of having your favorite brew to start a challenging day in the mountains. Josh selected The Next Adventure Blend, Columbia La Esperanza, and Papua New Guinea Ulya.

Josh did an Aeropress of the Next Adventure and the La Esperanza and then pulled out the Chemex for the Ulya.
A note about brew methods outdoors: For an urban meetup #coffeeoutside the only real guideline is to bring something unbreakable and any stove setup will do – so pour over, Aeropress, even a Bialetti work fine. You’re not generally too concerned about pack weight, since you’re not going far and bringing your favorite gear is part of the fun. Yes, I’ve seen people bring their Hario V60 kettles.
For bikepacking and backpacking, especially challenging multi-day routes weight becomes and issue, so I usually grind my beans at home and just carry a small reusable filter The only thing lighter than that is something like Alpine Start instant packets. Josh had a cool idea – to bring cold brew in a flask. Cold brew is essentially concentrated coffee that you can dilute as needed. So you save on brew time and just drink it cold or just heat up and enjoy.
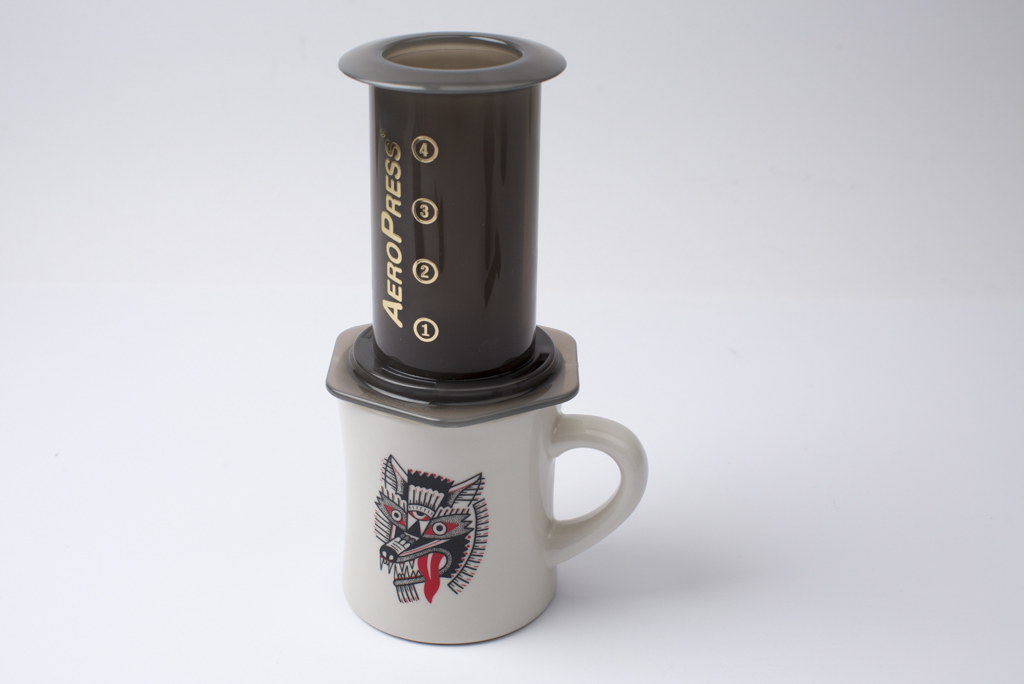
AERO PRESS
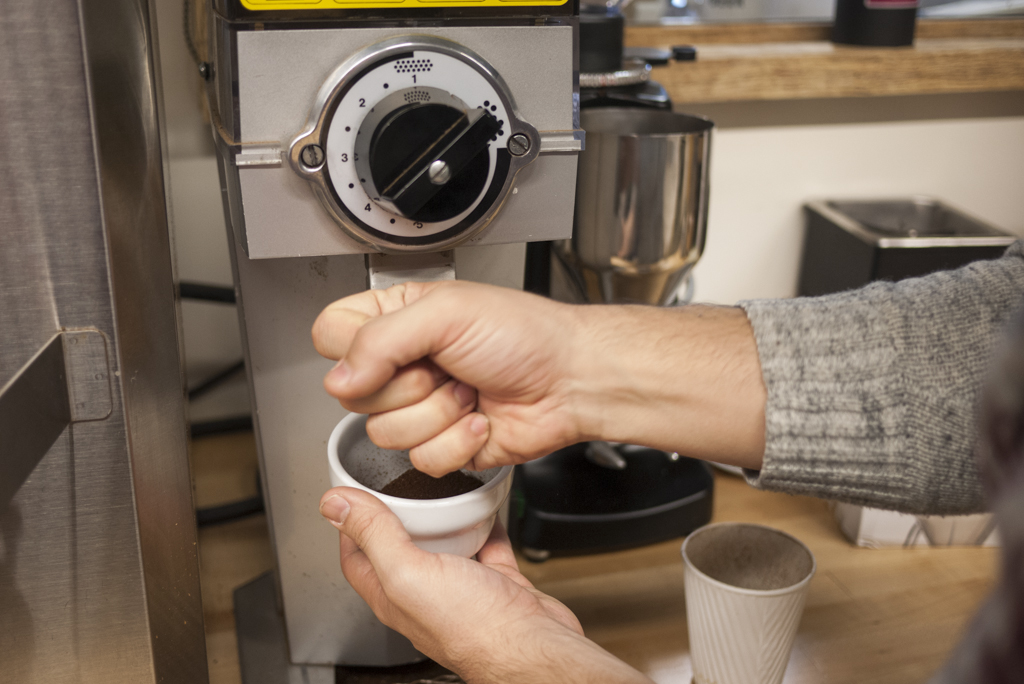
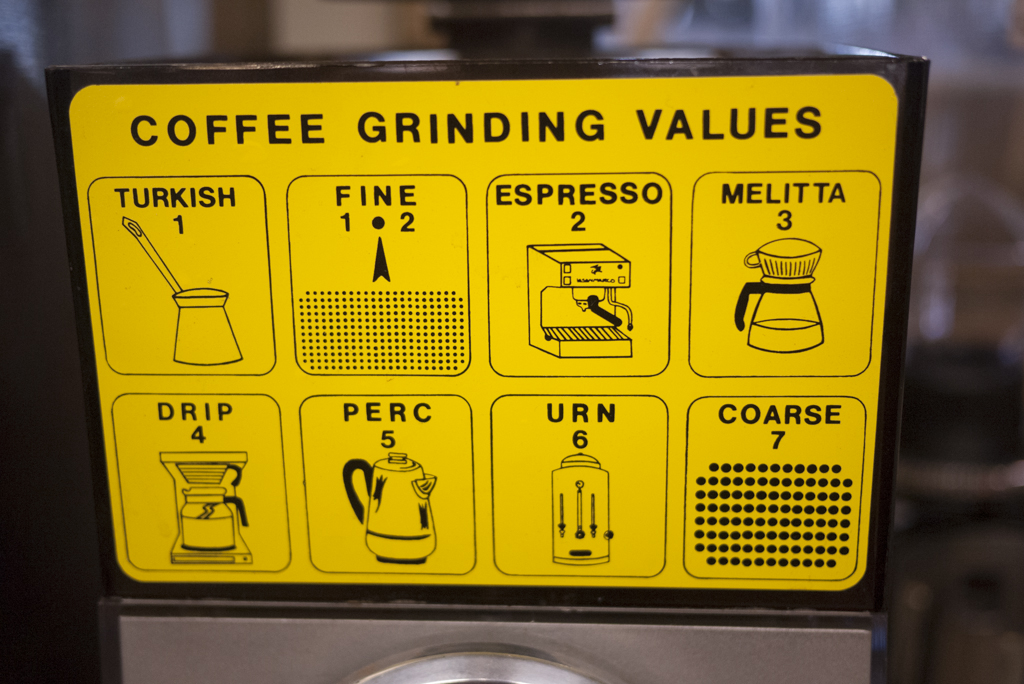
The trick to a good aeropress is finding the balance of brew time and grind size on your beans. We can’t say always use a fine espresso grind, or always use a coarse grind, since it’s up to you, just match your brew time to your blend. Some guides recommend a “medium to fine grind” Obviously that’s open to interpretation. So grind 15 grams of coffee, wet your paper filter (we use the able disk metal filter
Step one of the brewing is called the “100 gram bloom” which just means pouring 100 grams of 200 degree water (just before boiling – boiling is 212 degrees) and let it do it’s thing for one minute. After the 1 minute bloom, stir the coffee to break up the crust that formed during the bloom,
then do your second pour- filling water to just below the top of the press slowly, cap it immediately (with the filter installed) and your actual press taking 30 seconds. No need to rush the press. That’s it Voila! A beautiful coffee. Take your time. Enjoy it. Pay attention to how the coffee taste changes as it cools off.
The Aeropress cheat sheet
1. grind 15 grams of coffee
2. moisten paper filter (or insert metal filter)
3. pour 100 grams of 200 degree water (100 gram bloom)
4. wait 1 minute
5. stir the 100 gram bloom
6. pour water to top slowly
7. press slowly
8. enjoy!
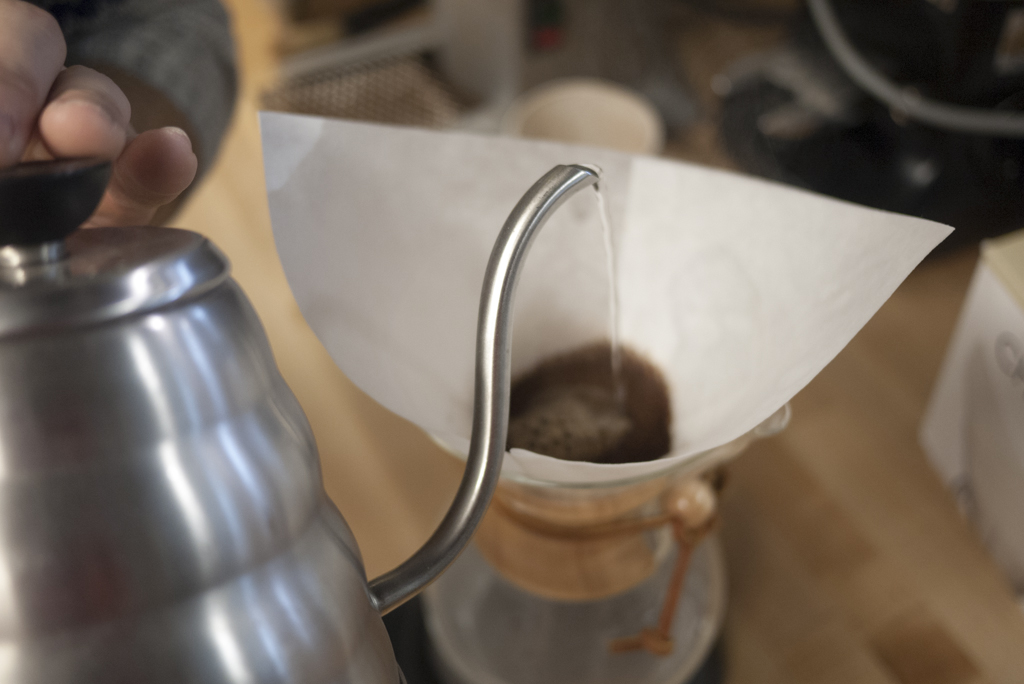
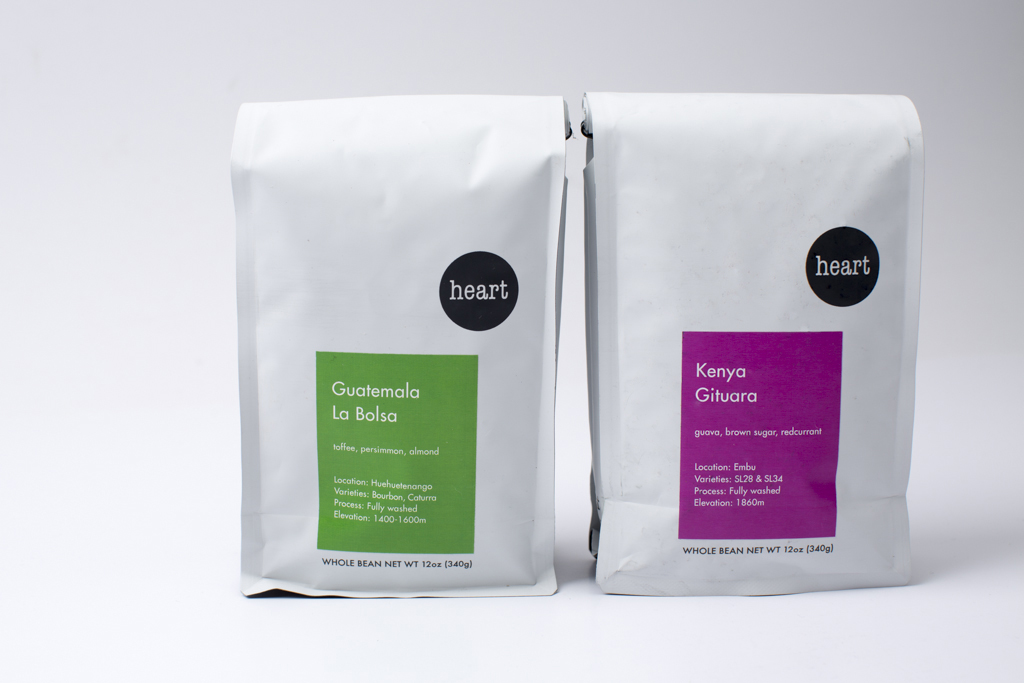
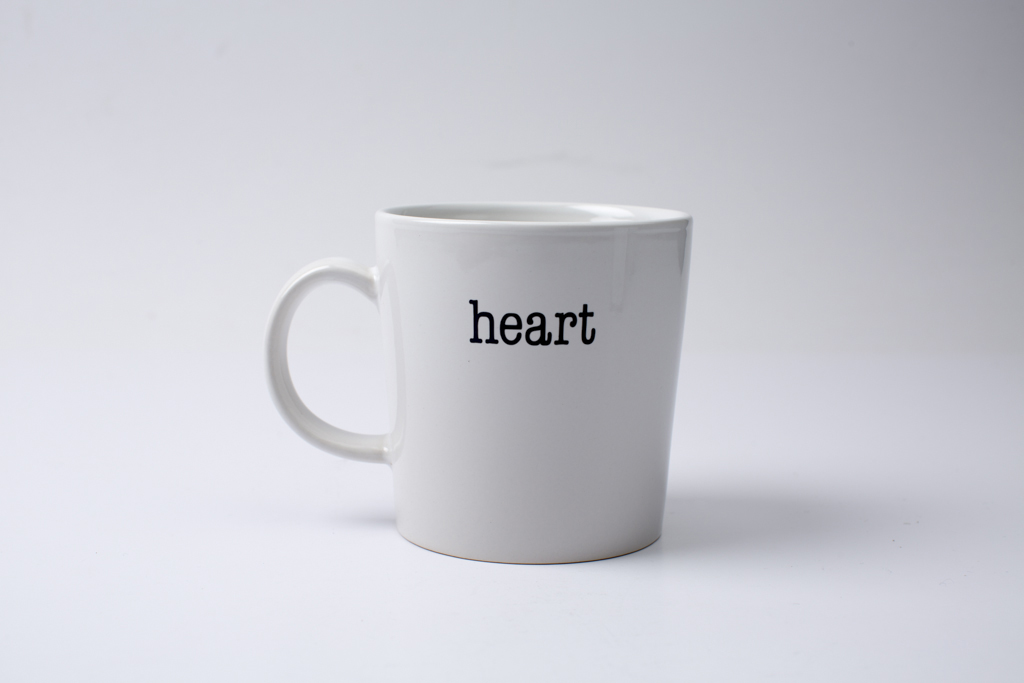
POUR OVER WITH HEART
We talked to our friends at Heart Coffee for suggestions for what beans they suggest right now and for some tips on pour over. Here is their guide using the Hario V60:
The video for this process is here:
Heart's recommended varietals are the Guatemala La Bolsa and the Kenya Guitara
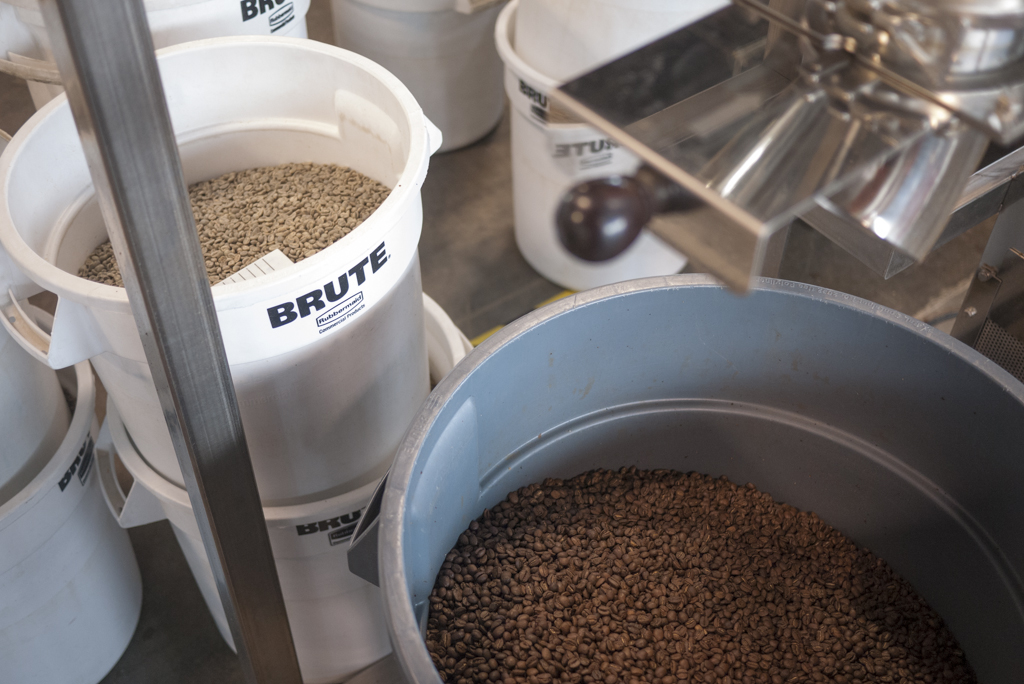
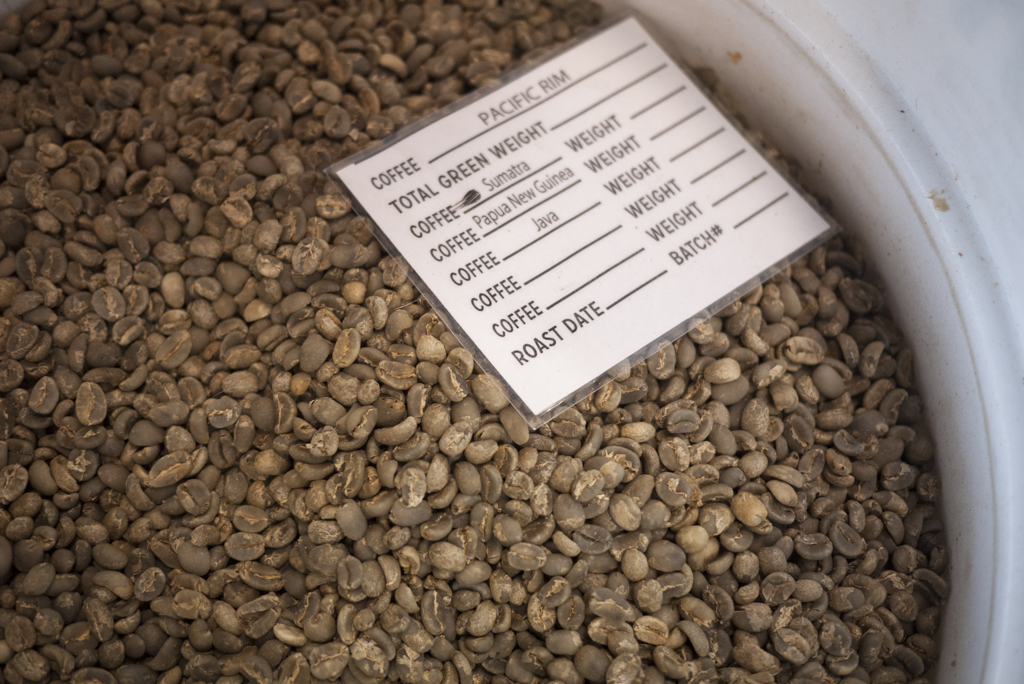
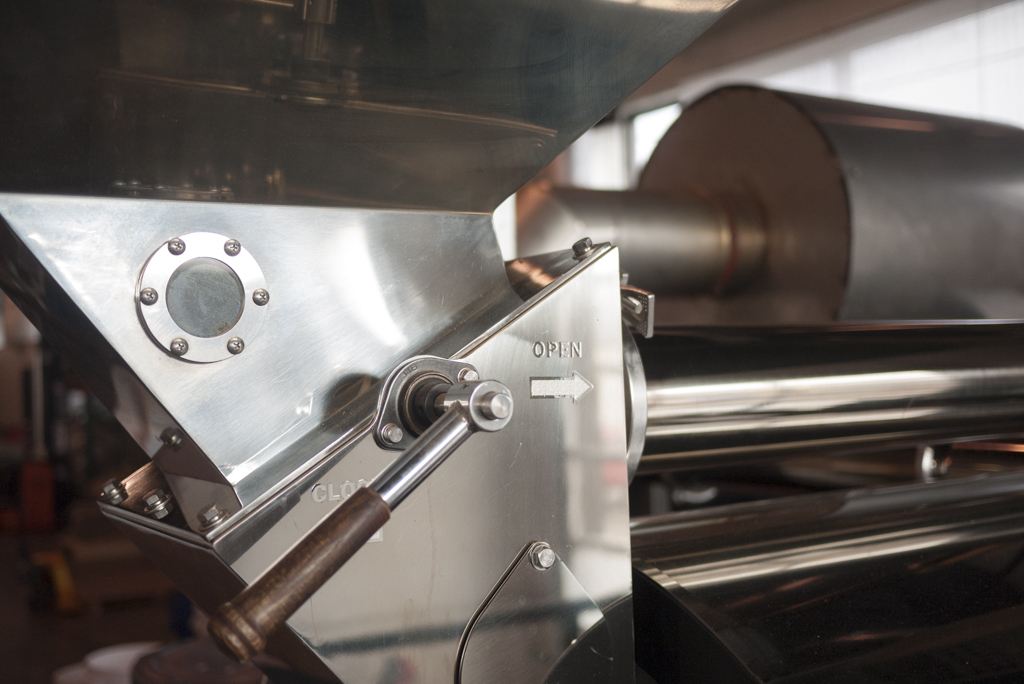
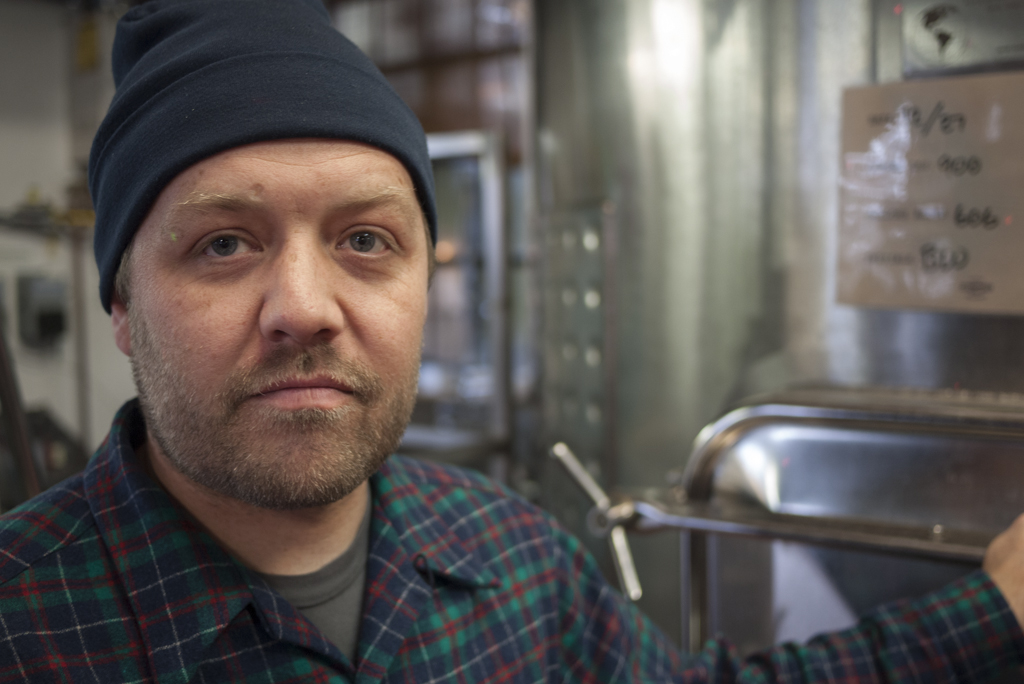
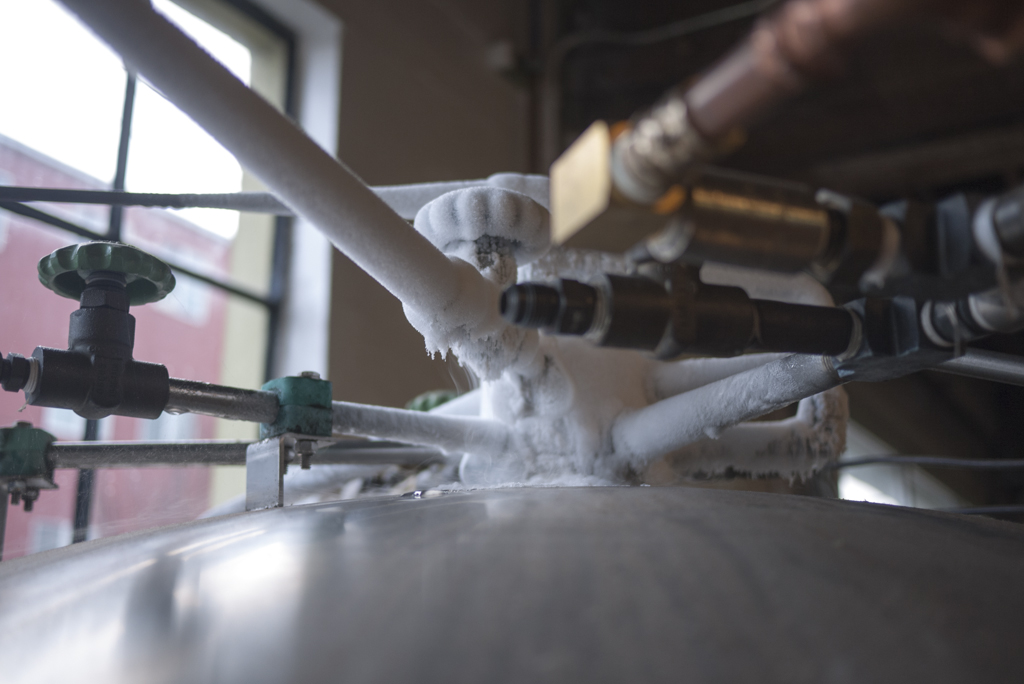
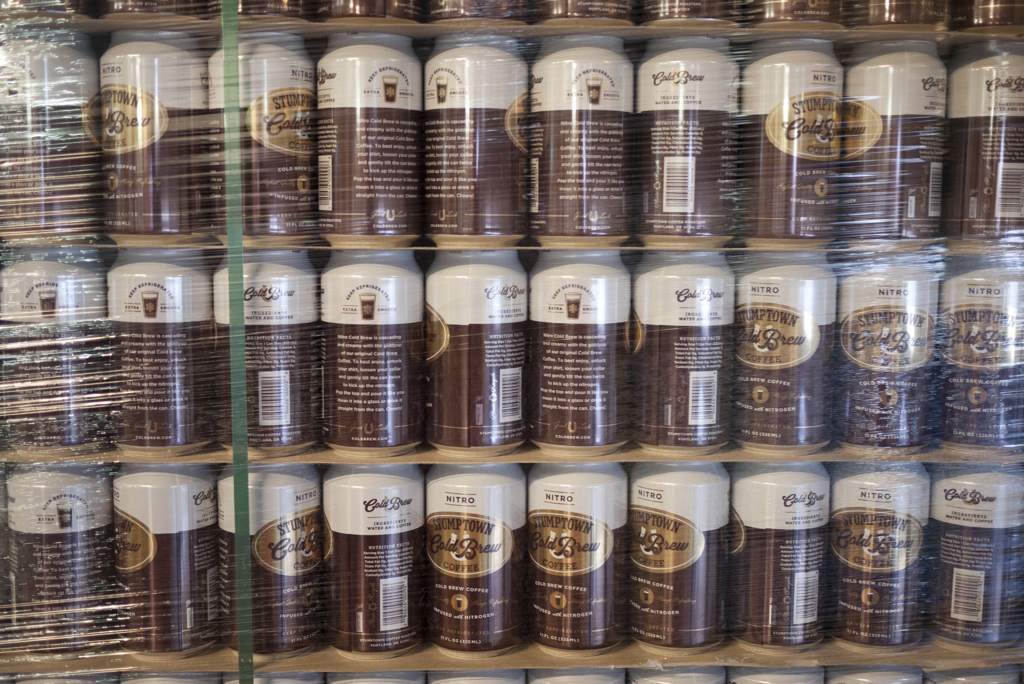
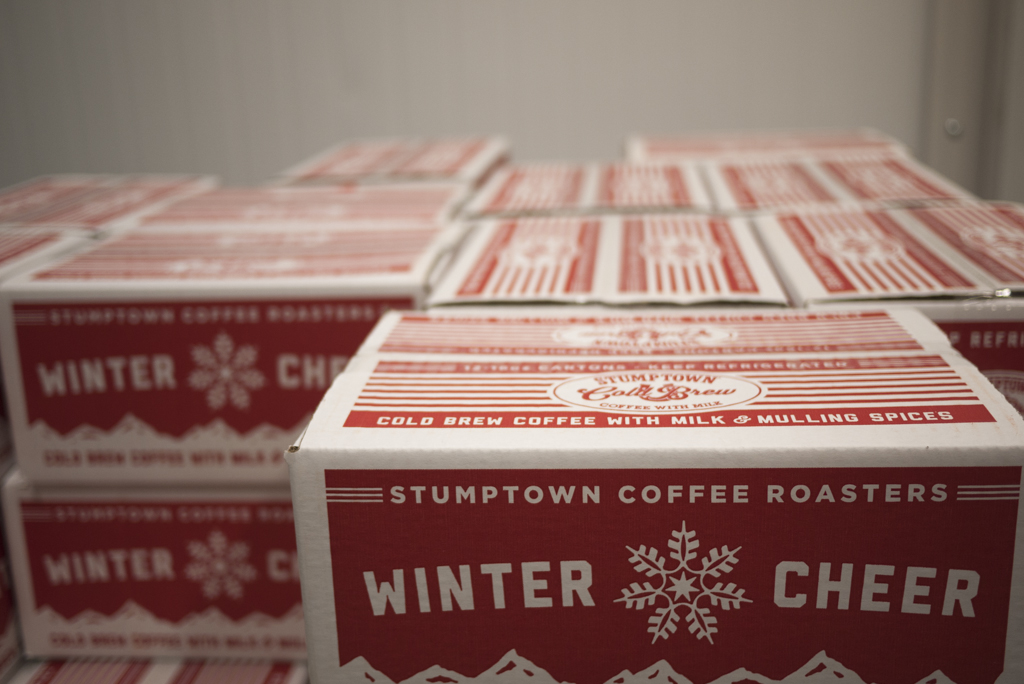
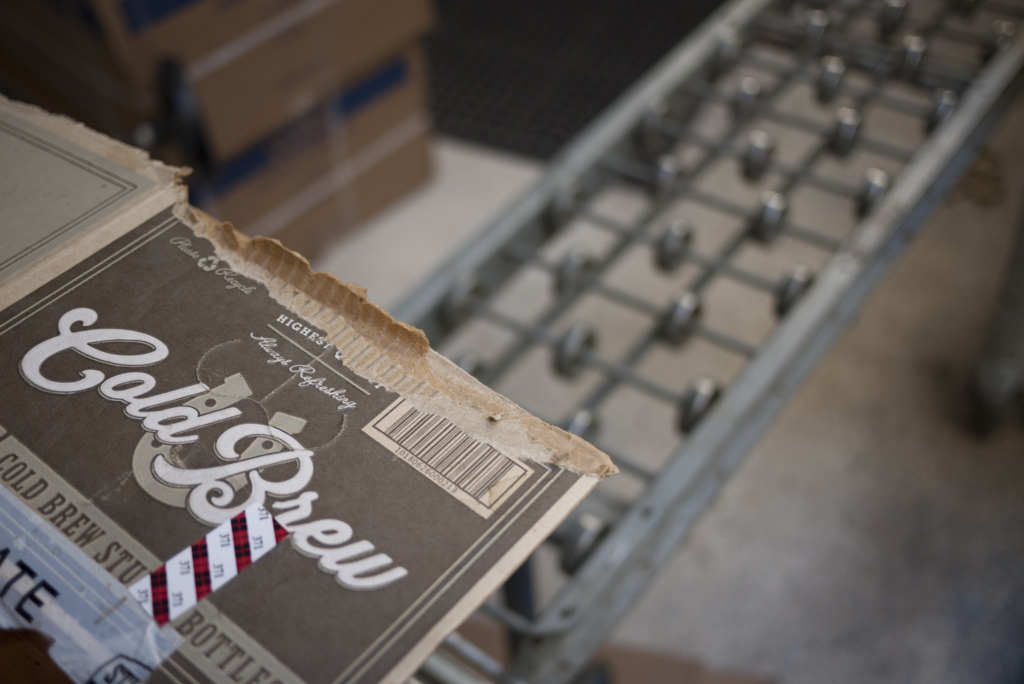
STUMPTOWN & COLD BREW PROCESS
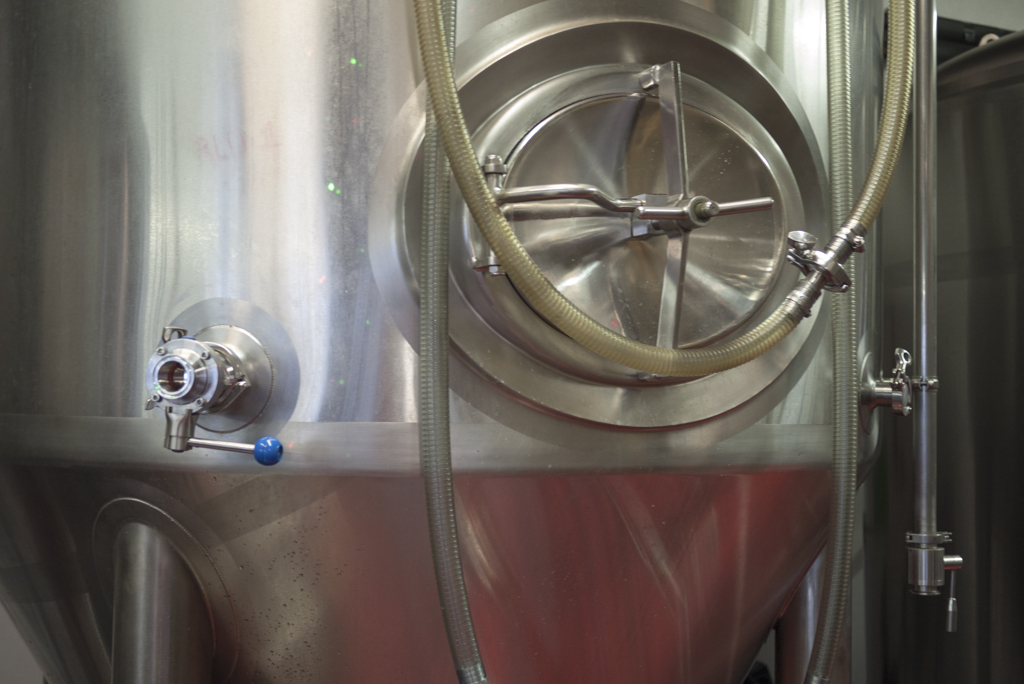
We visited our friend Nate at Stumptown Cold Brew where they brew and can nitro cold brew. They also have another dedicated facility that does the cartons.
Why cold brew your coffee? The number one reason to try cold brewed coffee is that it’s less acidic, thus giving your coffee a sweeter taste. What you get is a concentrated brew that you can then dilute with water, milk, cream or almond milk, etc. We love anything that will save us time while we’re out exploring in the woods. One idea for coffee on the go is to bring concentrated cold brew in a flask (we’ve been taking the Vapur Incognito flask) and dilute as needed on your adventures. That way, you’ve done all your coffee prep at home. You can just dilute it and drink it cold at camp, or heat it up.

So how do you make cold brew? We asked our friend Nate, brew master at Stumptown how to do it at home…
“Cold brew is super simple and the most forgiving of all brew methods. Slow and low!
Mix your favorite course ground coffee and cold tap water in a vessel. Use about 170g (6oz) of coffee per quart of water. Any vessel will do. The course grind makes separation of the solids easier after the brew. Let the coffee steep for 12-24 hours. On the counter is fine. In the fridge is fine. Most of the action happens in about 12 hours, with extraction beginning to plateau after that, up to 24 hours. If you let it go beyond 24 hours, you can begin to overextract, and possibly end up with some flavors that are not desirable. At the end of the extraction, separate the solids from the liquid, using whatever method you have available. You can use a french press, a cheese cloth, paper filter, etc. Separation by any of those methods is going to leave you with some amount of coffee solids and coffee oils. Not necessarily a bad thing, but if you want to really clean it up, use a filtron cold brew system and the included wool filter disc. It does a really good job of removing particulate and oils.
The above coffee to water ratio will produce a concentrate that can be diluted to preferred drinking strength. A good place to start is 1 part cold brew concentrate to 1 part water. Pour it over ice. Put some dairy in it. Put some suger in it. Or don't. Whatever. The concentrate should be kept in the refrigerator and should be good for 10+ days. Enjoy!”
suggested varietals from Stumptown:
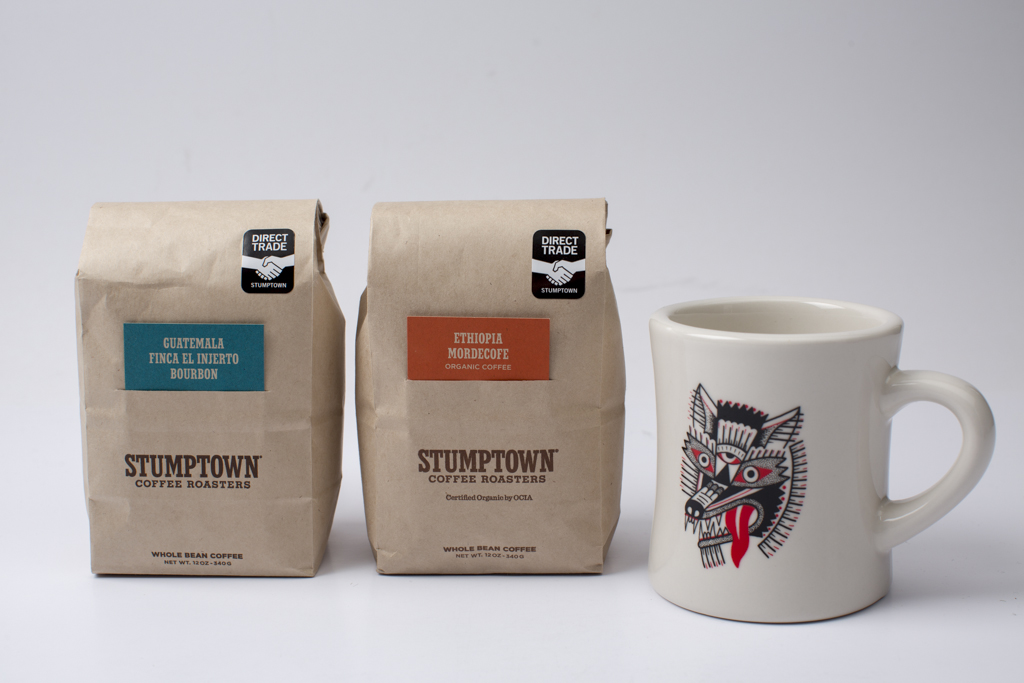
Guatemala Finca El Injerto Bourbon
Stumptown does a great job with their brew guides (they recommend the Filtron for cold brew) The heart of the Filtron system is a sturdy (reusable) wool filter that removes acids and oils that a paper filter won’t remove. Also, cold brew concentrate should last for weeks. We suggest brewing enough for a week of coffee at a time. Also, we're loving the WOLF mug (art by Winston the Whale)
We thought it would be fun to share this fun holiday promo from Cyclone/Cinelli USA as well. They teamed up with Trailhead coffee to make this one-off. Trailhead delivers by bike. Check out their hand done brew guide.

That's it for now. Mix up your training, eat good food…Enjoy winter! We'll post up soon on Exposure Lights, a full review of the Parlee Chebacco, Reynolds ATR and Attack wheels and a dynamo wheel build with Sugar Wheel Works.